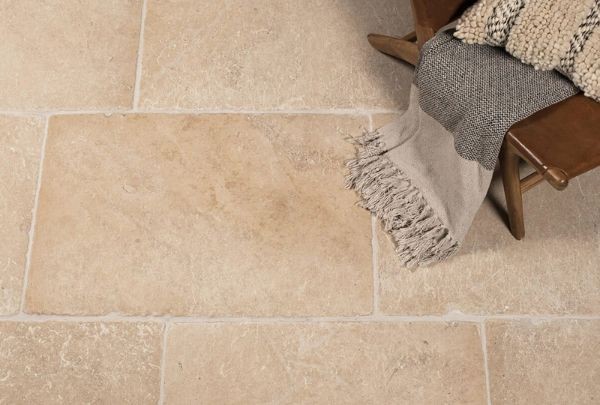
Clean Tile Joints before Applying Fresh Grout
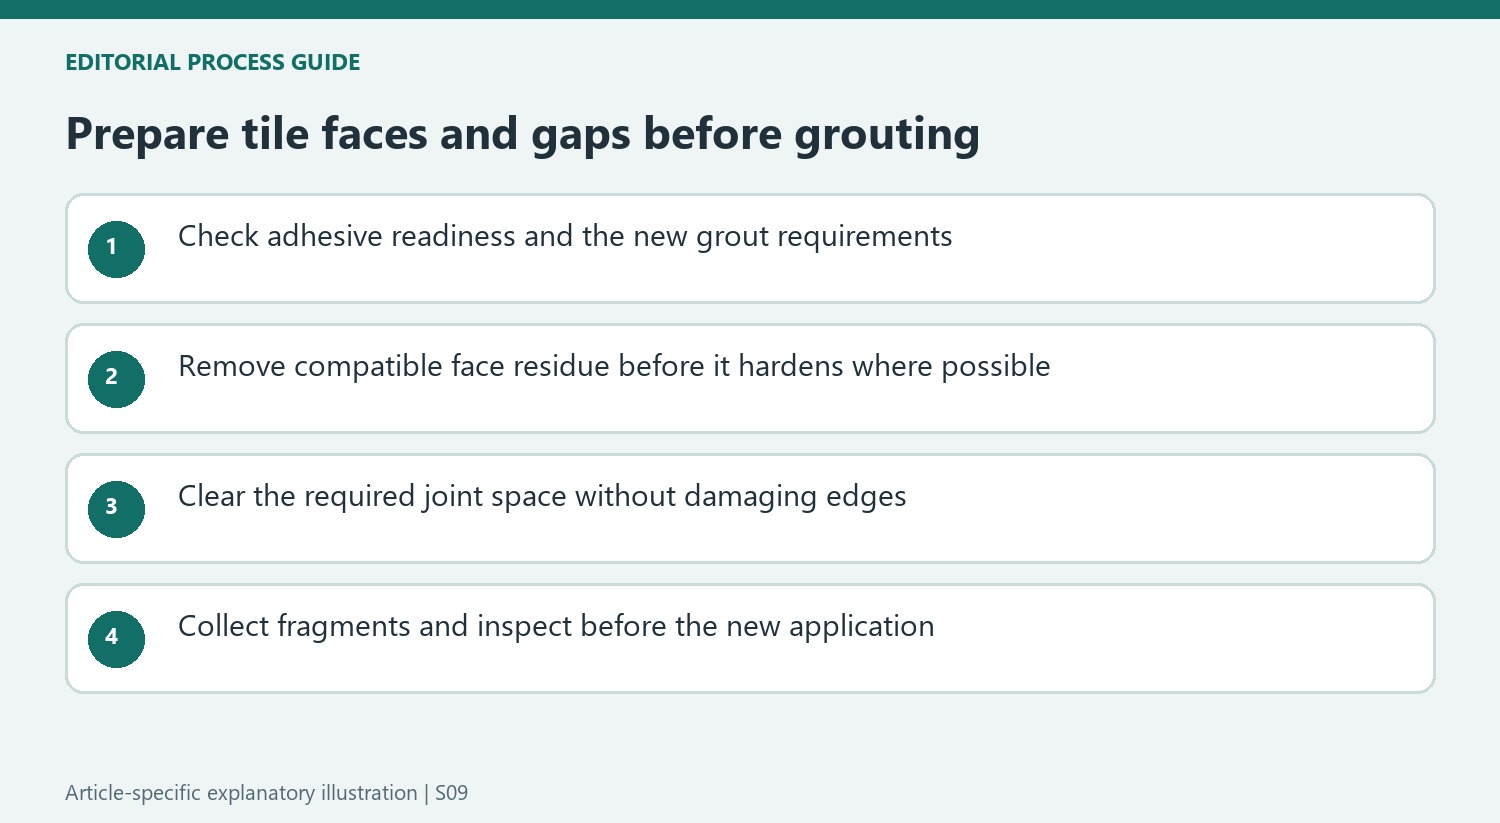
Tiles and the gaps between them should be prepared before grouting. The source emphasizes removing dirt and installation residue so the joint material can be applied properly. Check for adhesive on the tile faces and within spaces intended for grout.
Use tools compatible with the tile finish and follow the adhesive and grout instructions for timing. Avoid damaging edges while clearing a joint. Good preparation supports a cleaner finished result and is easier than trying to correct embedded debris after the material has hardened.
Remove adhesive while access is straightforward
The Stone Store recommends addressing adhesive on the tile face before it hardens. Choose a suitable soft tool or approved remover rather than scraping the finish with an unsuitable edge. Follow with a damp wipe to collect loose dirt. Keeping the face clean also makes it easier to inspect the joints and see whether any residue would interfere with the upcoming grout application.
Give the gaps their own inspection
Preparation is not complete when the visible tile faces look clean. The article emphasizes clearing the spaces between tiles so grout has room to be applied properly. Work carefully at the edges, and follow the adhesive and grout manufacturers' instructions about readiness and joint preparation. Residue left behind may become harder to reach once fresh grout has been placed and begins to set.
Treat regrouting as preparation for a new application
For existing installations, the source describes carefully removing old grout before cleaning and applying new material. Protect the surrounding tile while using a suitable grout removal tool, then clear the loosened debris and wipe the area. This is a different job from ordinary maintenance cleaning. Confirm the required joint depth, materials and curing guidance with the chosen grout system before starting the replacement work.
Prepare the joints rather than only polishing the visible faces
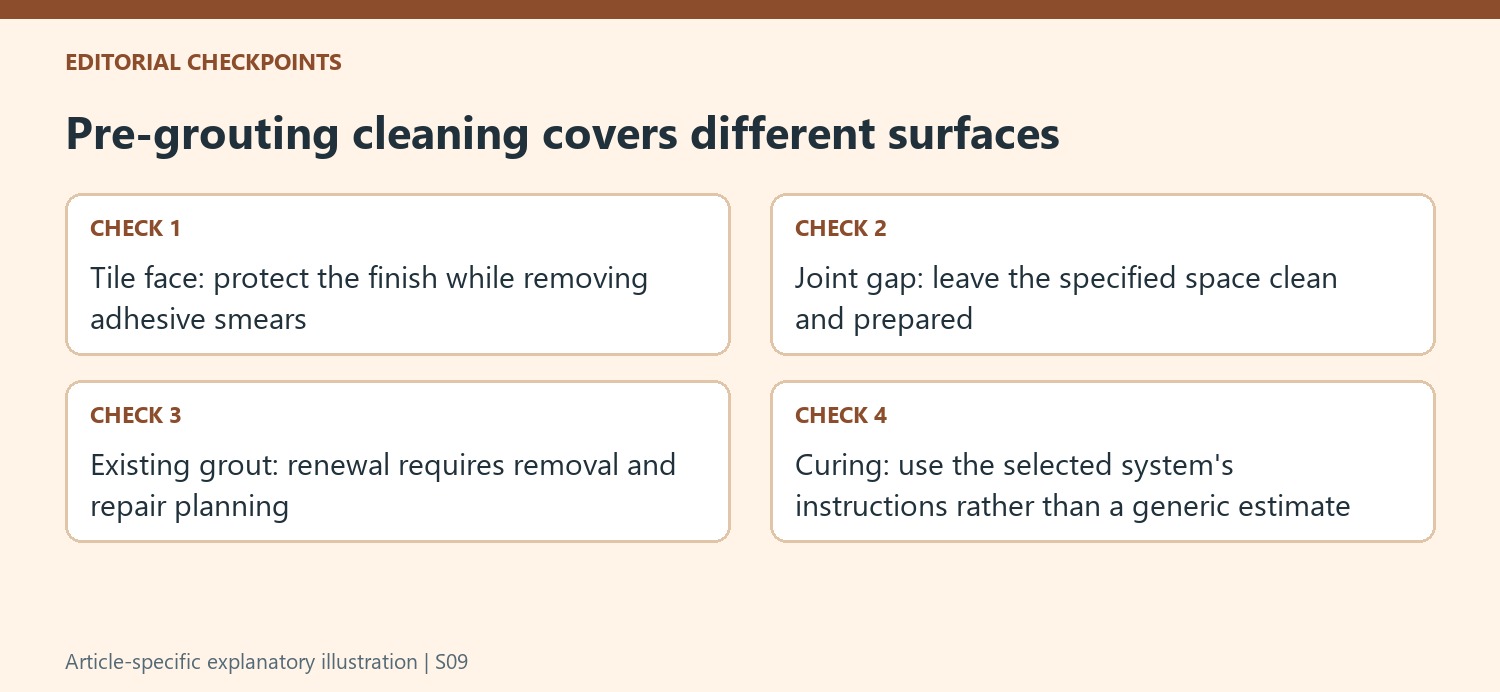
The Stone Store's article explains why dust and installation residue need attention before grout is placed. Inspect both the tile face and the gap intended for the new material. A visually clean broad surface can still have adhesive projecting into the joint, while dust left within it becomes harder to reach after fresh grout is applied. Preparation is therefore a separate inspection of two adjoining areas, not simply a final decorative wipe.
Follow the adhesive and grout systems for when the installation is ready to be worked and the required joint preparation. Do not use the guide's simple overview as a substitute for those product-specific conditions. Cleaning too aggressively around a newly laid tile can disturb the work, while an unsuitable scraping edge can damage a finish. Appropriate timing and the right tool matter together.
Address adhesive with a suitable tool while it is accessible
The source favors dealing with adhesive on tile faces before it hardens, using an appropriate soft tool or approved remover. Confirm compatibility with the tile and any sealer before application. Remove the loosened residue and follow with a suitable damp wipe to collect particles. A dry-looking smear is not necessarily gone; inspect under useful light before allowing the next stage to lock the appearance in place.
If material has already set in a joint, use a suitable removal method with care at the tile edges. The overview mentions a grout rake and further cleaning, but the exact approach should respect the tile, substrate and product instructions. Work only to the required preparation rather than digging indiscriminately below the visible gap. Clear the resulting debris so the next material is not placed over fragments from the removal itself.
Keep regrouting distinct from ordinary maintenance
For an older installation, the source describes removing existing grout before preparing for a fresh application. That is a repair process requiring appropriate tools, not the same job as cleaning a dirty but sound joint. Assess why renewal is wanted and whether any damaged tile or persistent moisture problem also needs attention. New grout should not be used to hide a condition that remains unresolved underneath or alongside it.
Confirm the new system's material, joint dimensions, preparation and curing requirements before starting replacement. Protect neighboring edges, collect removed fragments and wipe as directed without leaving the space contaminated. The aim is a clean, correctly prepared joint ready for its specified material, followed by the appropriate application and cleanup procedure. A neat tile face helps the result, but it cannot compensate for inadequate preparation inside the gap.
References
- How To Clean Tiles Before Grouting. Stone Store; Will.
Residual adhesive and loose dirt can interfere with a proper application.


Leave a Comment
Comments (0)