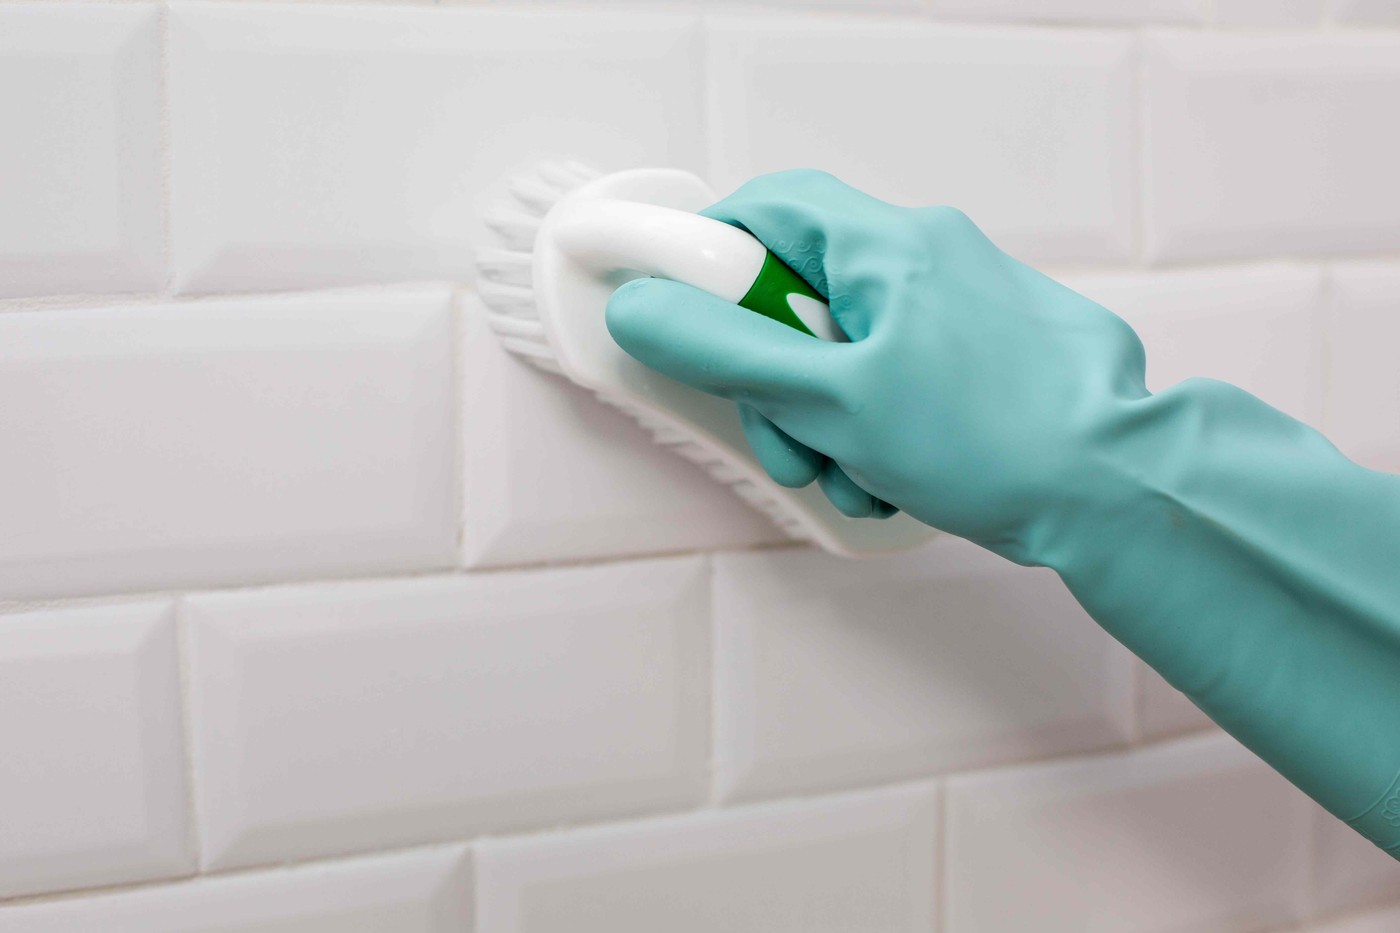
Test Grout Treatment Before Cleaning the Entire Floor
The Spruce recommends considering grout type, working in sections and removing all dirty cleaner residue.
Consider the grout type and cleaner together
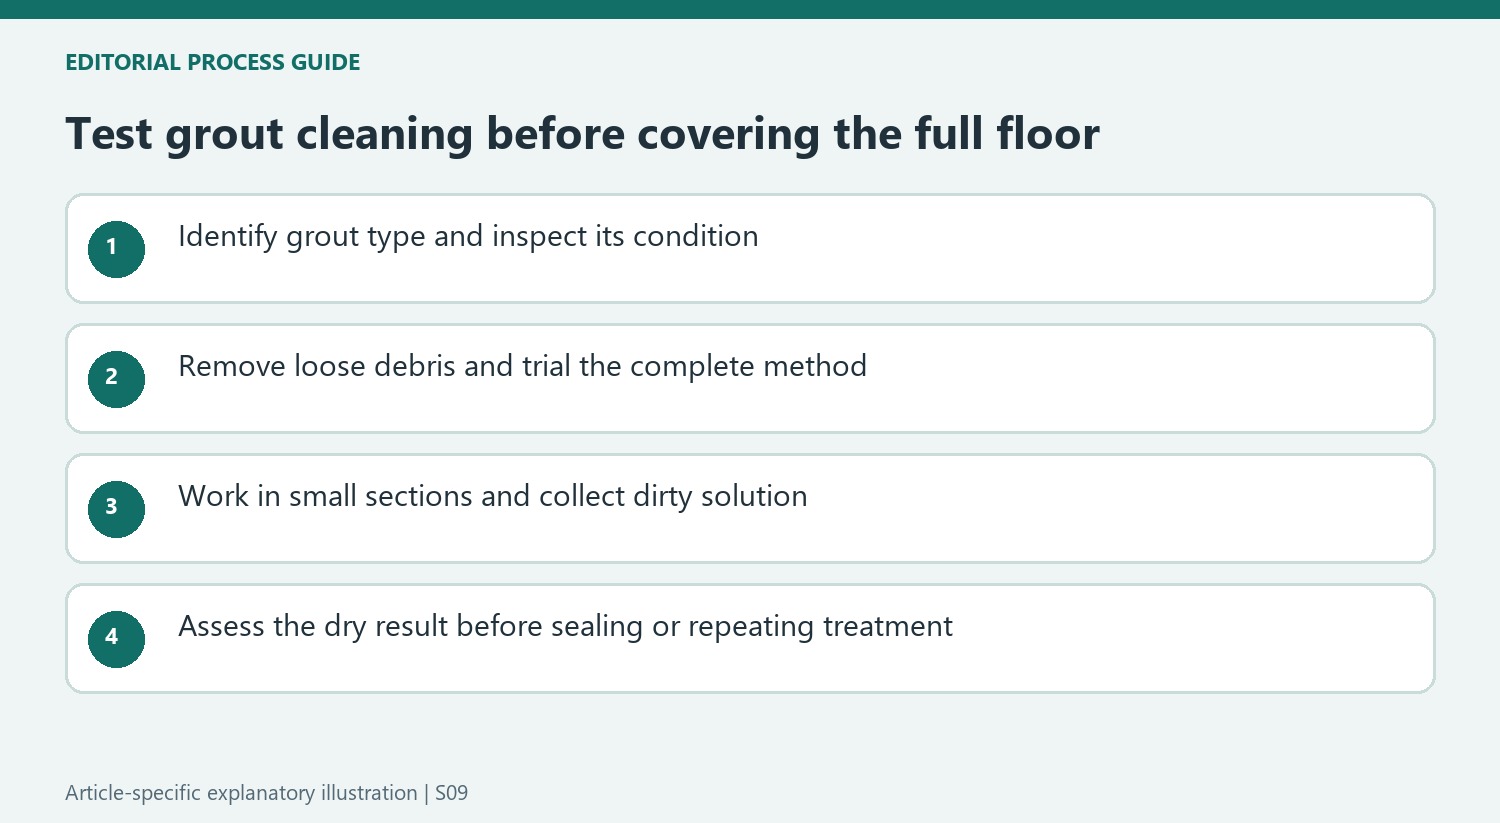
The Spruce distinguishes sanded, unsanded and epoxy grout, emphasizing that their condition affects how cautiously they should be scrubbed. Begin by sweeping or vacuuming the surrounding floor. A commercial cleaner should be diluted and applied as directed, while any proposed homemade method needs a hidden-area check for compatibility with the tile. Appropriate gloves and eye protection are particularly relevant when handling stronger products.
Collect the residue rather than leaving it to dry
Once a suitable cleaner has loosened grime, work the lines in small sections and wipe away dirty solution with a clean damp cloth or sponge. Rinse the cloth as needed so it does not move the same soil back across the joints. Remove excess water and allow the grout to dry. The article also discusses compatible sealing and routine moisture removal as ways to reduce future buildup instead of repeatedly relying on intensive treatment.
Use prevention to reduce repeated intensive cleaning
The Spruce advises keeping dirt, debris and residue from accumulating rather than waiting for a visible color change across every joint. A regular squeegee pass on bathroom tile reduces the water available to support recurring growth. Where a sealer is appropriate, its selection should account for the grout and surrounding tile rather than being applied to every installation automatically. Compare the clean dry appearance before and after treatment, and avoid judging the result while the joint is still damp. Working in manageable sections makes it easier to observe the response and stop before unnecessary scrubbing affects fragile material.
Identify the joint and its condition before the treatment
The Spruce distinguishes sanded, unsanded and epoxy grout, making the installation more specific than a generic white line between tiles. Find the product information where possible and inspect whether the joint is sound or already fragile. The appropriate brushing action and cleaner depend on that condition as well as the tile nearby. A cleaner that removes a mark is not useful if the process erodes the material holding the appearance together.
Sweep or vacuum accessible loose debris before applying a liquid. That exposes the joint and prevents dirt from interfering with the local trial. Use a small hidden area to assess the intended cleaner, dilution, contact stage and tool, then examine after residue removal and drying. A test limited to the broad tile face does not establish that the adjacent grout will respond in the same way.
Work in sections that can be cleaned and cleared completely
Follow a commercial product's exact instructions rather than transferring an example dilution from a different cleaner. Keep alternative homemade or chemical approaches separate and use the required protective equipment and ventilation. Apply only to the appropriate area and allow the prescribed contact stage. Small sections are useful because they can be observed and finished before the remaining room distracts attention from an unsuitable response.
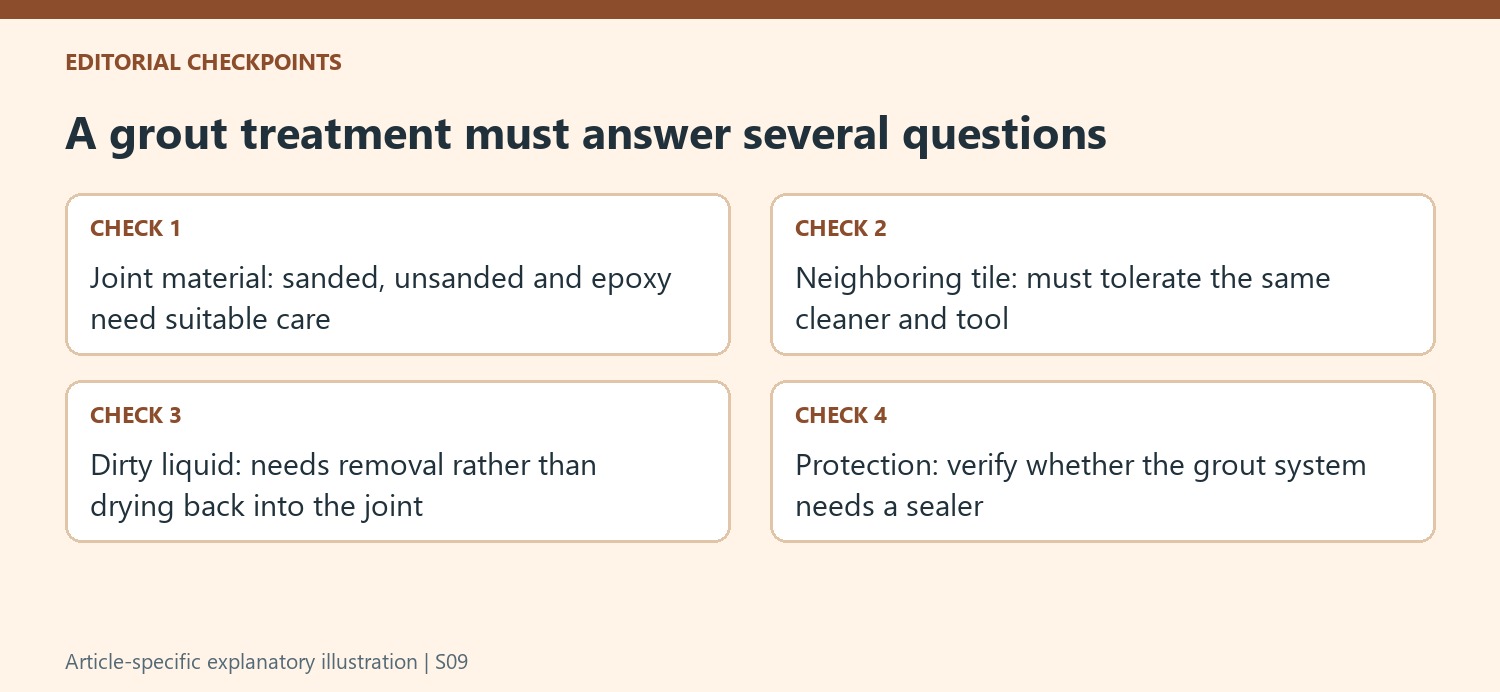
Once soil loosens, remove the dirty solution with a clean damp cloth or sponge, rinsing or replacing the tool as it becomes loaded. Brushing alone does not take the dirt away, and leaving dirty liquid to dry can put residue back into the lines. Wipe excess water, let the joint dry appropriately and inspect it before deciding that further treatment is justified. Avoid increasing pressure to compensate for a color change that may not be removable soil.
Keep later protection specific to the grout system
The source discusses sealing after cleaning, but a suitable sealer is not automatic for every type of grout and tile. Confirm whether the installation needs it, what product is compatible and what drying or curing conditions apply. The distinction between cleaning and protecting matters because an added surface treatment can affect appearance or future maintenance. Do not choose it solely because the joint looks brighter immediately after a wash.
The guide's preventive routine includes regular debris collection and removal of shower water with a squeegee. These actions limit the material and moisture available for renewed buildup. Inspect the small areas that repeatedly become damp, not just the room's most visible center. A consistent restrained routine can reduce repeated intensive cleaning while leaving persistent staining or damage to be assessed as a separate maintenance or repair issue.
References
- Grout Looking Dingy? How to Clean It the Right Way So It Actually Stays White. The Spruce; Nafeesah Allen; PhD.
The Spruce recommends considering grout type, working in sections and removing all dirty cleaner residue.


Leave a Comment
Comments (0)