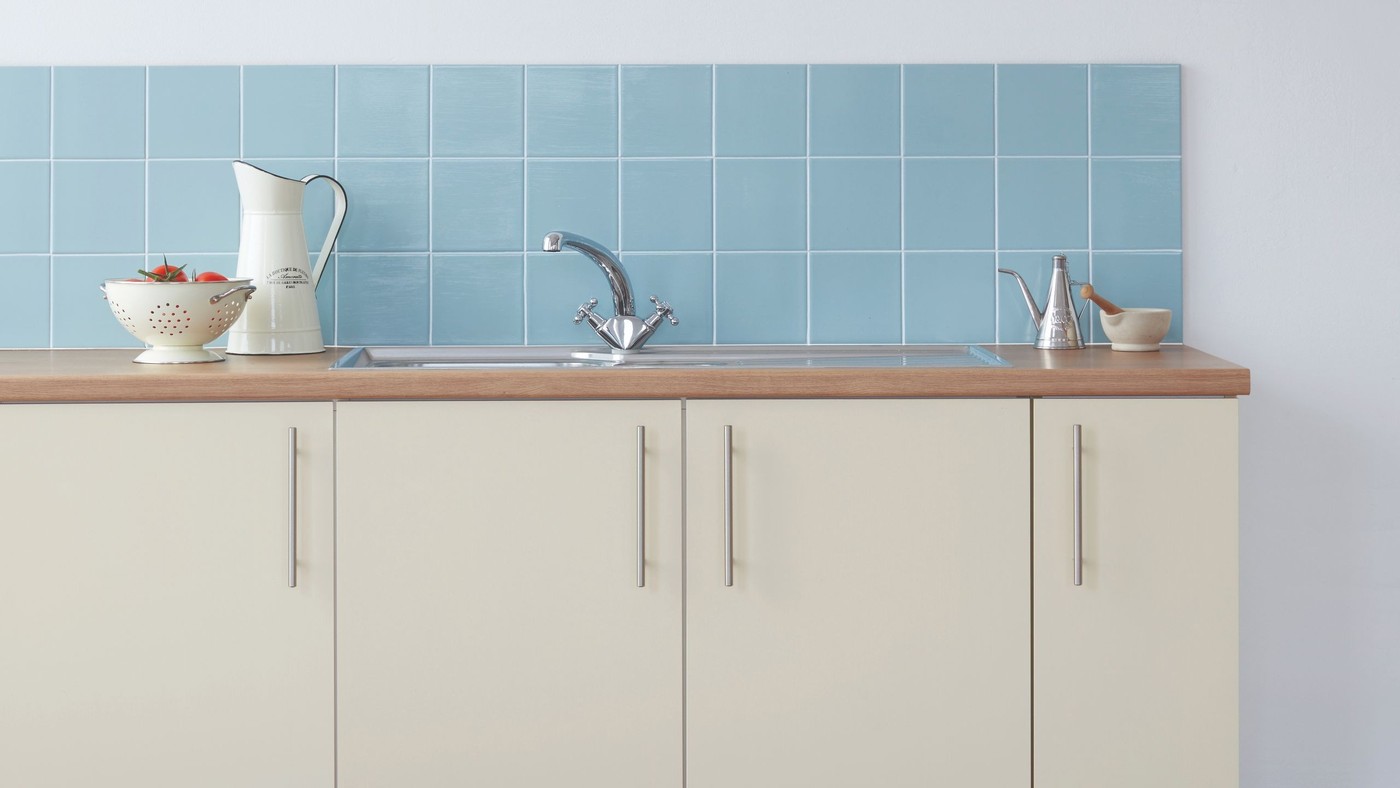
Clean Grout before Residue Becomes Persistent
The grout reference explains why clean-looking tiles do not guarantee clean joints. Soap, shampoo, and damp conditions can leave residue or discoloration in the porous material between them. Prompt routine care helps prevent a small problem from becoming an extensive stained area.
Choose a method that suits both the grout and the adjacent tile, starting with a gentler compatible approach. More force or stronger chemicals are not automatic improvements. Address ongoing moisture and ventilation as well as visible soil so the freshly cleaned joints are less likely to deteriorate again.
Begin with a small controlled cleaning area
Ideal Home describes warm water and a small brush as a possible starting point for recent soil. Working locally lets you see whether ordinary residue is lifting without applying a stronger treatment across the entire shower. Rinse away the released dirt and check the dry result. The tile surrounding the joint matters too, especially where an acidic household recipe would be unsuitable for natural stone.
Separate stubborn staining from a harsher routine
The source warns that frequent bleach use can affect grout and that stronger treatment should not be the first response. If a specialist product is needed, follow its label and the installation's care guidance, provide ventilation and never mix it with other cleaners. The article lists several approaches, but they should not be combined into one chemical process or automatically applied to every grout type.
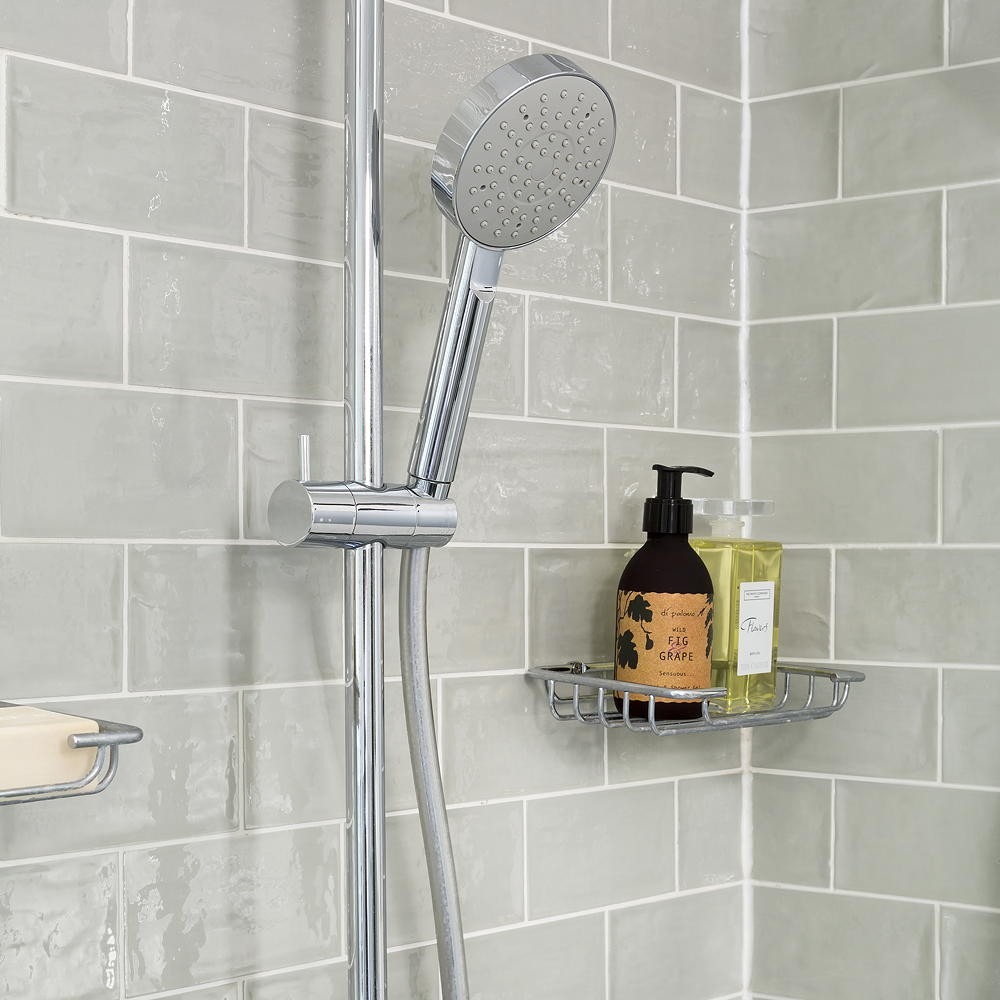
Reduce the moisture that brings the problem back
Cleaning the visible joint is only one part of the routine. The article recommends removing water from shower walls with a squeegee and paying attention to damp corners. An extractor fan, appropriate ventilation or a dehumidifier can help reduce persistent moisture. Inspect the same small areas during regular cleaning so soap residue is removed before it becomes a widespread, difficult deposit.
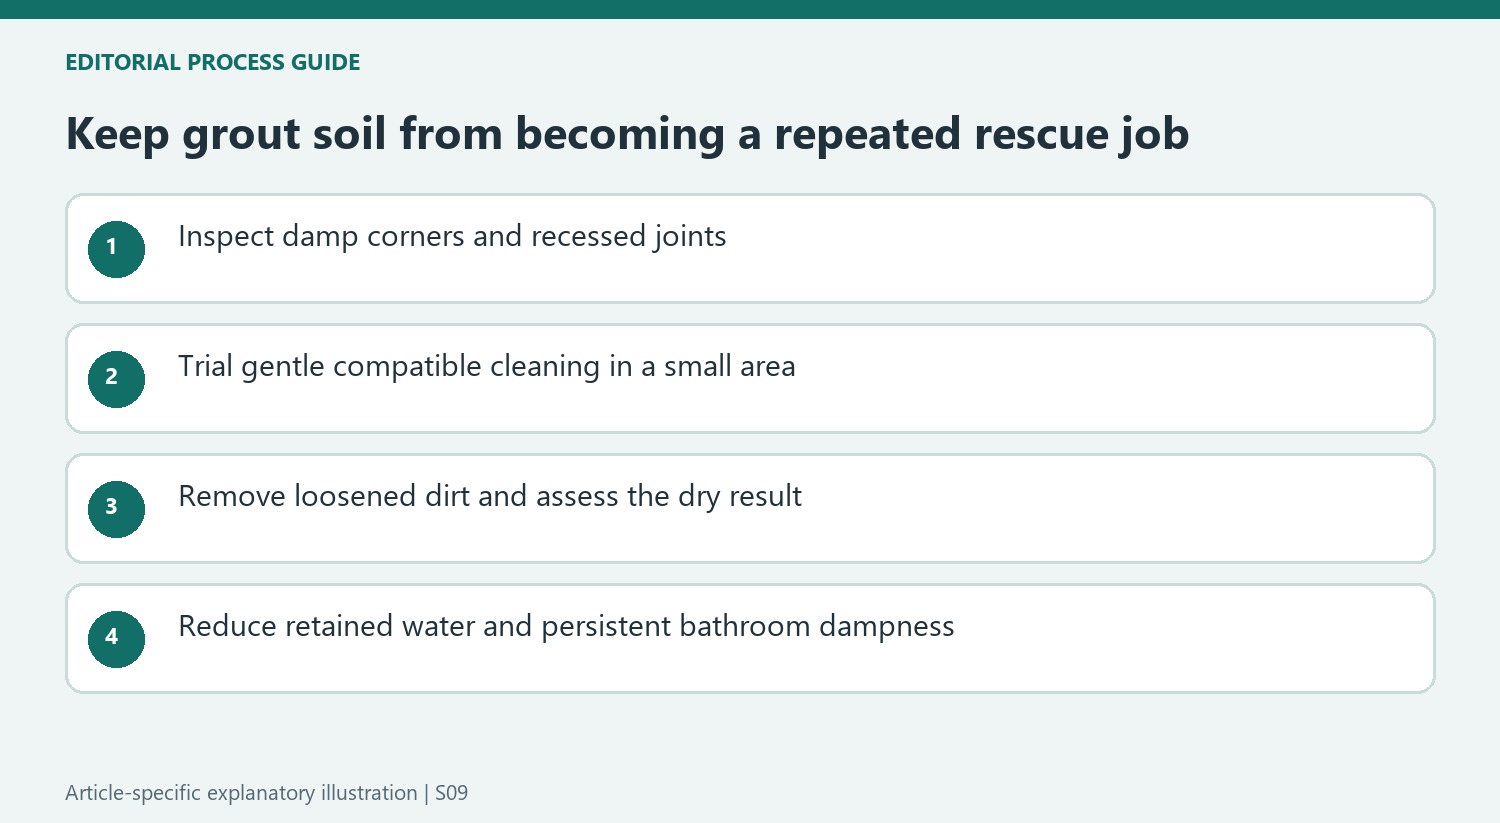
Inspect the damp corners before choosing a stronger product
Ideal Home links recurring grout discoloration with retained soap, shampoo and moisture. Look at the corners, lower edges and places that receive repeated splashes, rather than judging the installation only from the clean-looking tile faces. Remove loose material before a local cleaning trial. A joint can retain soil below the tile surface, making it easy for a broad wipe to pass over the very area that needs attention.
The source describes warm water and a small brush as a possible start for recent dirt. Use a gentle tool compatible with the grout and neighboring tile, then collect the loosened material and inspect after drying. That limited area provides information about how the soil responds without subjecting the whole room to a more aggressive process. If the grout is cracked or deteriorating, cleaning alone should not be expected to repair it.
Read the article's alternatives as separate choices
The guide offers a range of household and specialist approaches, but they act differently and do not suit every surrounding material. An acidic method discussed for one tiled surface is not automatically acceptable beside natural stone. Confirm the grout type, tile and any sealer before choosing a product, and test the complete process out of sight. Familiar ingredients still need compatibility assessment rather than an assumption that natural means harmless.
Bleach receives a specific caution about frequent use and potential effects on grout. Do not make it a compulsory step after gentler cleaning has already worked. If a stronger approved product is actually needed, follow its dilution, handling, ventilation and removal instructions. Never combine it with other cleaners. A list organized from gentle to stronger methods should not become an instruction to layer all of them over the same damp joint.
Reduce the conditions that make another deep clean necessary
After showering, the source recommends using a squeegee on tiled walls as well as the screen. Removing water limits the moisture left around joints and makes later residue easier to manage. Pay particular attention to corners and places hidden by accessories. A small amount of regular targeted care can prevent the assumption that every return of a dark patch must be met with another extensive whitening session.
Use the bathroom's suitable ventilation or extractor system and investigate persistent damp rather than treating the cleaner as the only control. The guide mentions dehumidification as another possible response to excess moisture, but the room's actual conditions determine what is appropriate. If the same area deteriorates despite cleaning and drying, assess leaks, joint condition or other sources. Preserving sound grout requires attention to its environment as well as its visible color.
References
- How to clean grout in tiles – foolproof methods to get grout squeaky clean. Ideal Home; Rebecca Knight; Lauren Bradbury; Katie Sims.
Porous joints need routine attention alongside the surrounding bathroom tiles.


Leave a Comment
Comments (0)