Protect Porcelain Tiles When Treating the Grout Between Them
BHG's grout guide emphasizes compatibility, restrained scrubbing and testing a method before wide use.
Remove the loose soil first
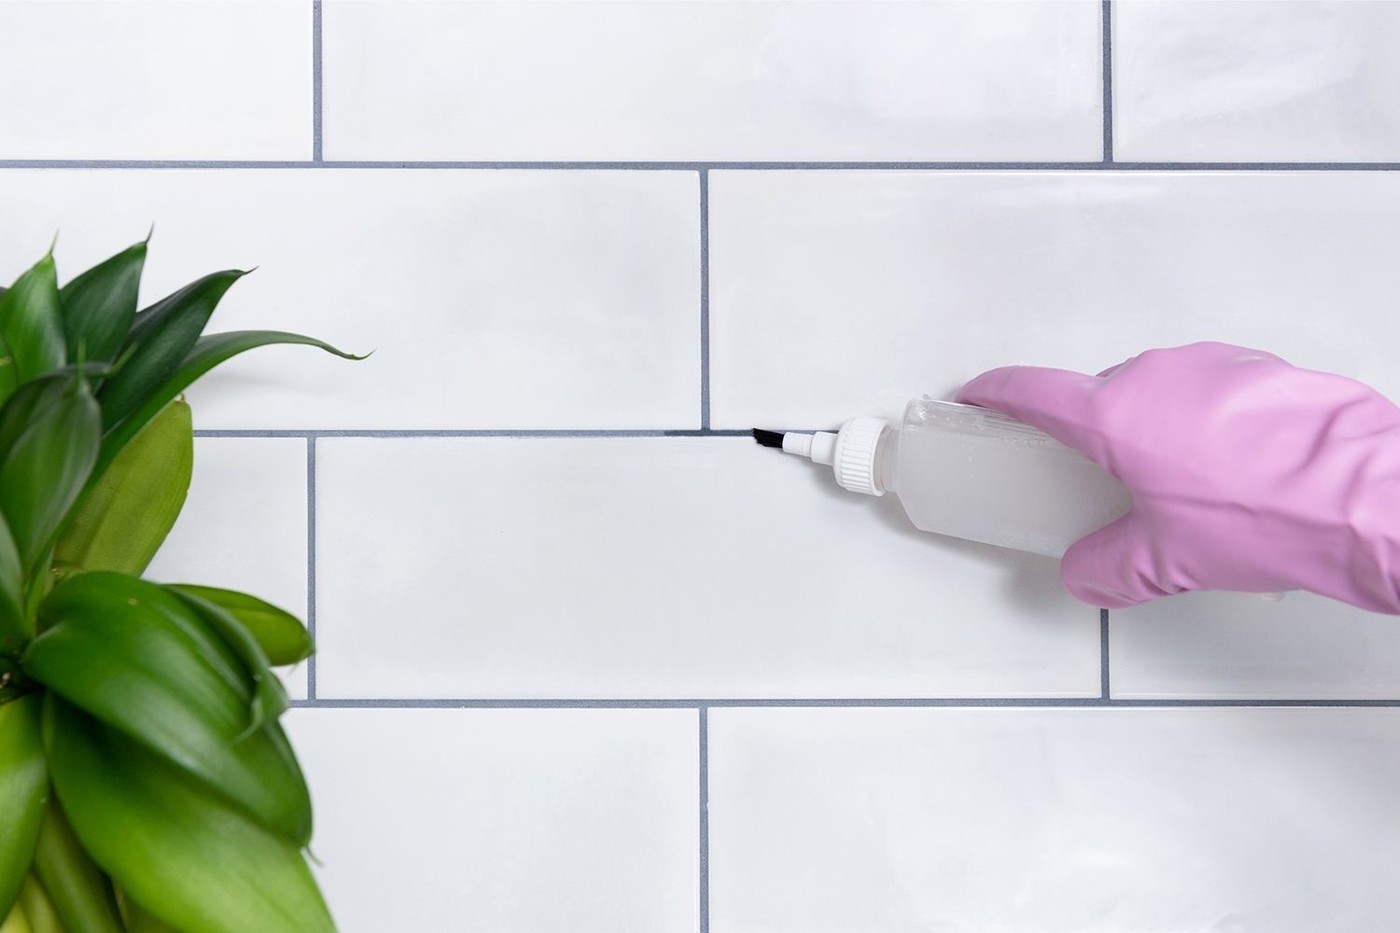
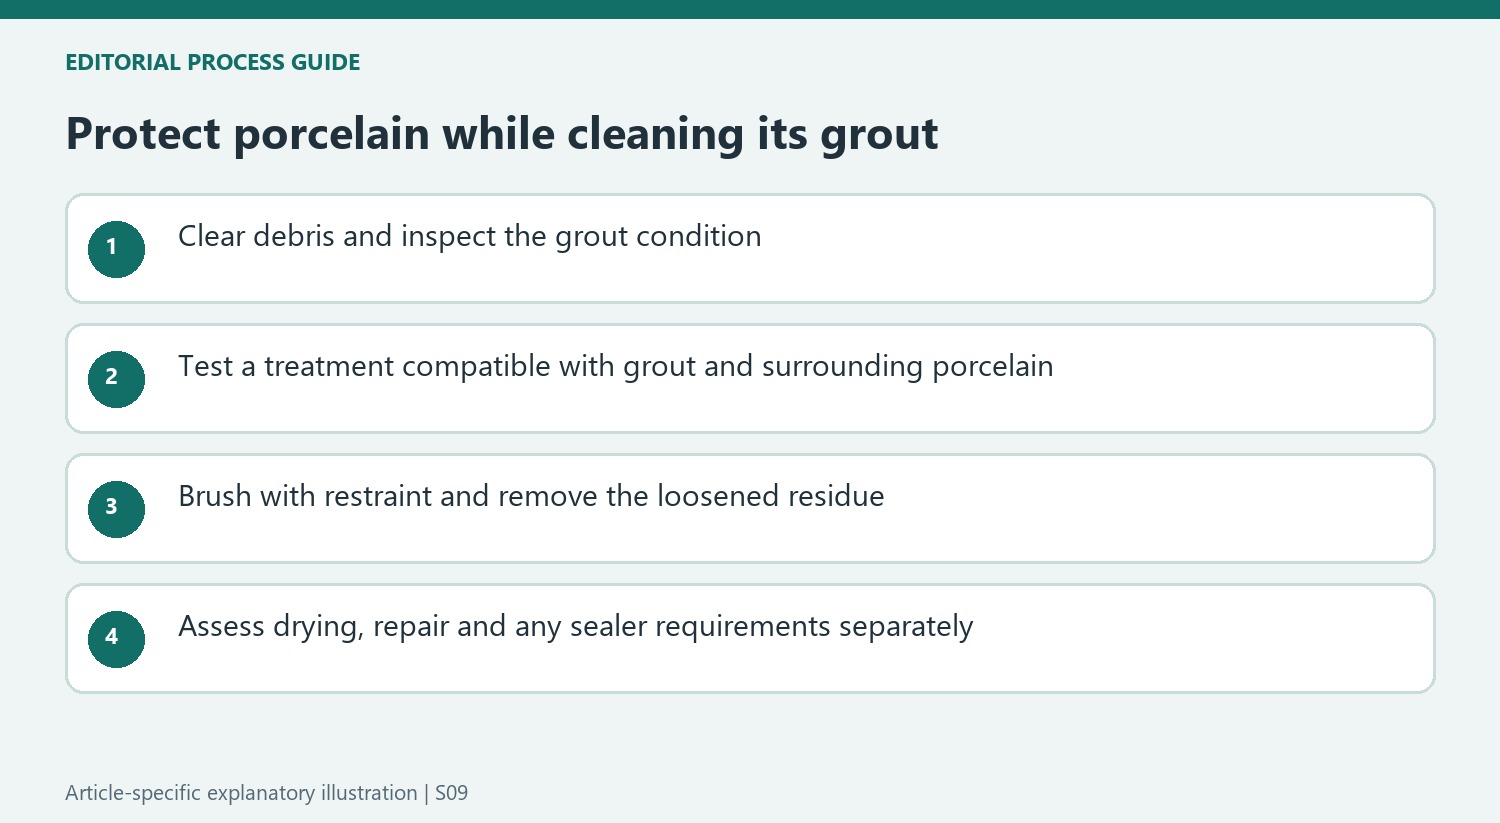
Better Homes and Gardens notes that dirt can remain in grout lines even after the tile surface has been wiped. Start by clearing ordinary dust and debris so a treatment is not working through an avoidable layer of grime. Its basic method uses a small brush to apply a suitable cleaning paste, gives it time and then rinses away the loosened material. A hidden-area test is important when a treatment could affect the surrounding tile.
Protect the installation after cleaning
The guide specifically warns against overly forceful scrubbing, which can damage grout. It also distinguishes a stain that responds to cleaning from deeply discolored grout that may need renewal. When appropriate, allow the cleaned lines to dry before applying a compatible sealer, following the installation's requirements. A cleaner approved for the actual tile matters more than using a familiar household ingredient. Keep stronger products separate and provide the protection and ventilation their labels require.
Decide whether cleaning or renewal is appropriate
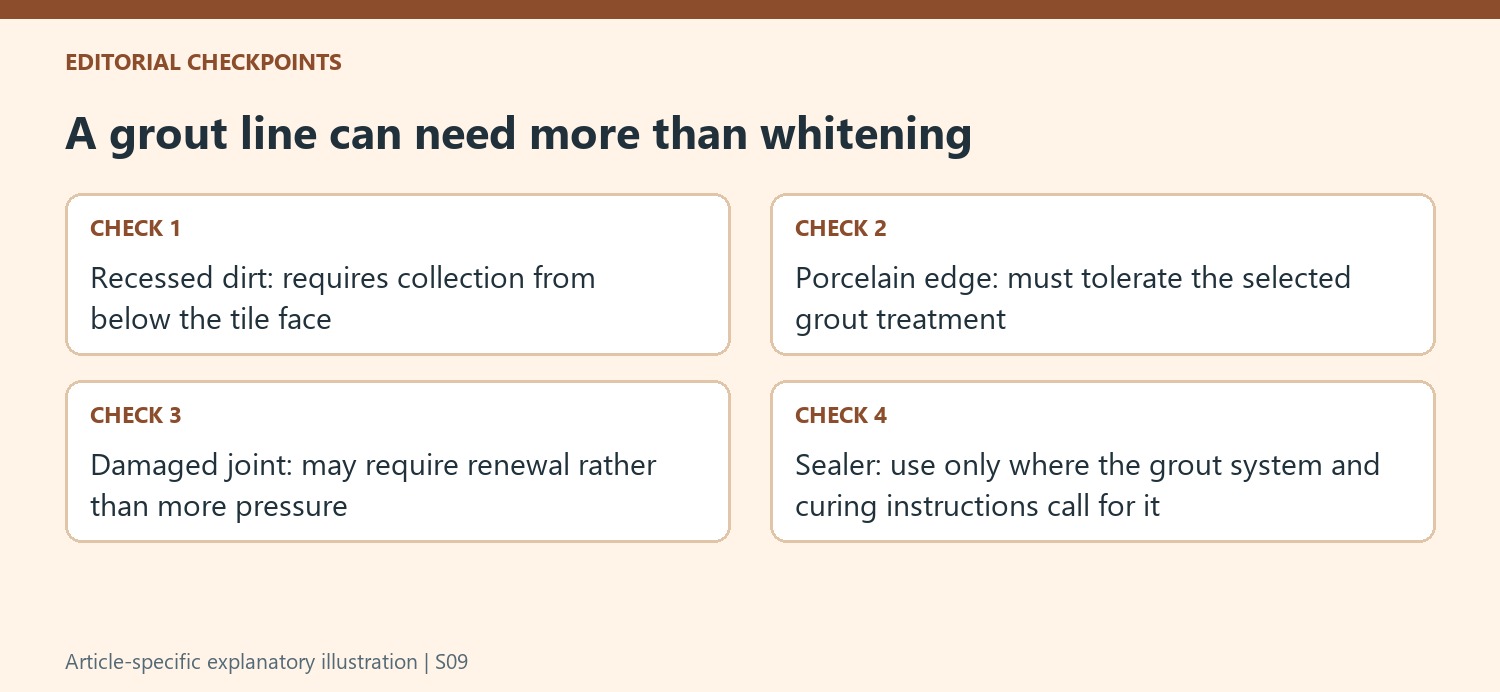
Better Homes and Gardens notes that deeply discolored grout may remain unsatisfactory after ordinary cleaning. Regrouting or a suitable grout color treatment is a different decision from washing, requiring care around the tile edges and the correct materials for the joint. Do not keep increasing brush pressure to compensate for a permanent color change. The article also cautions that bleach can mark porcelain, reinforcing the need to check both sides of a grout line before treating it. Where sealing is appropriate, follow the sealer and grout manufacturers' curing requirements rather than applying one interval to every installation.
Inspect the joint rather than judging only the tile face
BHG explains that grout often sits slightly below the tile surface, allowing dirt to remain after an ordinary wipe. Clear visible debris first and inspect whether the joint is sound, cracked or missing in places. A darker line is not always simply a dirty line. Establish its condition before selecting a cleaner, especially if a previous attempt has already left rough or friable material along the tile edge.
The surrounding porcelain matters too. The source specifically cautions that bleach can leave unwanted marks on porcelain, so a grout product must be compatible on both sides of the joint. Test an inconspicuous area using the intended contact time and tool, then remove residue and inspect the dry result. A familiar household ingredient or an attractive whitening claim does not eliminate the need for that shared-material check.
Let the chosen treatment and brush do limited work
The article describes applying a suitable cleaning paste or grout cleaner with a small brush and allowing it time before rinsing. Follow the actual product directions rather than choosing the longest waiting time mentioned in a general guide. Keep separate chemical alternatives separate, with the handling and ventilation required for the selected process. An extra ingredient is not a justified response to a paste that has not yet had its specified contact period.
Use restrained pressure when brushing. BHG warns that forceful scrubbing can damage grout, which defeats the aim even if the immediate color looks lighter. A small brush helps control placement but does not make unlimited force harmless. Remove the loosened dirt and cleaning material thoroughly. Then assess the dry line before deciding whether another application would address remaining soil or merely abrade a lasting color change.
Make renewal and sealing separate projects where appropriate
Deeply discolored grout may remain unsatisfactory after compatible cleaning, and the source introduces regrouting or a suitable color treatment as different options. Those decisions require the correct material for the joint and care not to scratch the tile edges. Repair is not simply a more intense version of washing, particularly when existing grout is damaged or the color difference reflects something other than removable grime.
Where the grout system calls for a sealer, apply it only after the required cleaning, drying and curing conditions are met. The article's suggested intervals cover general situations; current grout and sealer instructions determine the actual timing. Confirm whether the particular installation needs sealing at all and how future maintenance should be handled. Keeping cleaner, repair and protection roles distinct makes it easier to choose work that preserves the complete tiled surface.
References
- How to Clean Grout Using Pantry Staples You Probably Already Have. Better Homes & Gardens; Jessica Bennett.
BHG's grout guide emphasizes compatibility, restrained scrubbing and testing a method before wide use.


Leave a Comment
Comments (0)