
Start Teak Furniture Care with a Gentle Brush
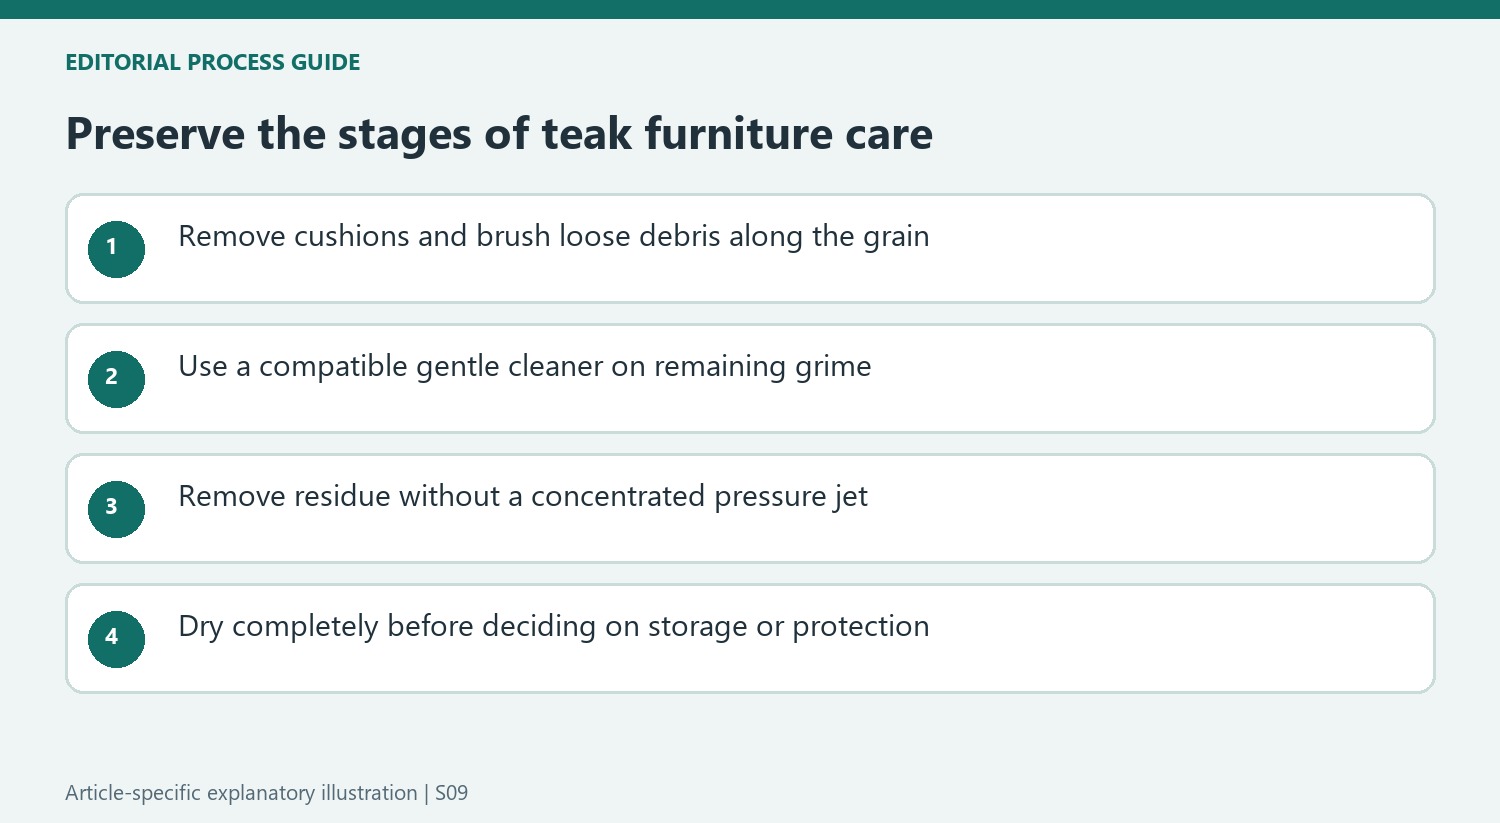
The teak-care sequence in this reference starts by taking off cushions and brushing away leaves, cobwebs, and loose dirt. A soft-bristled brush follows the timber grain rather than scouring across it. This prepares the surface before water and cleaner are introduced.
A gentle wood-cleaning solution can then lift the remaining grime with a sponge or cloth. Choose products suited to teak and its existing treatment, and allow the furniture to dry before seasonal storage. Routine cleaning should preserve the wood's condition rather than chase a shine through aggressive scrubbing.
Rinse without a concentrated jet
After washing, the guide removes detergent with ordinary water from a hose, watering can or bucket. It specifically discourages a power washer because the concentrated force can damage teak's surface. Pat excess water away with a fresh microfiber cloth, then allow complete drying. Detergent left behind is not a protective treatment and can collect dirt during storage.
Treat stubborn marks as a separate assessment
The source discusses gentle sanding along the grain when normal cleaning fails. That changes the surface and may make the treated area lighter, so it is not simply a stronger version of washing. Check the furniture maker's advice before removing wood, especially on a previously coated piece. Avoid escalating from a soft cloth to aggressive abrasion merely because a weathered color remains.

Choose teak care rather than kitchen oil
The article warns against olive oil, noting that a non-drying food oil may become rancid and contribute to uneven appearance or mildew during storage. A teak-specific protector is a different product category. Follow the current maker's guidance on whether a finish is needed and which system is compatible. Cleaning and full drying are still required before storage, even when a protective treatment is planned.
Decide whether the goal is cleaning or a color change
Teak can carry loose debris, adhered grime and a weathered appearance at the same time. The Homes & Gardens sequence begins with removing cushions and gently brushing along the grain, which addresses the first of those conditions without changing the surface. Inspect the result before deciding that every remaining color variation is a stain. Wanting a newer-looking shade is a separate objective from removing leaves, cobwebs and ordinary dirt.
Choose any subsequent cleaner around the furniture's existing treatment and the maker's care guidance. A previously coated piece may need different maintenance from bare weathered teak, and a wood-cleaner label alone does not resolve that difference. Use a suitable cloth or sponge rather than escalating the tool simply because the furniture has been outside. A controlled first clean provides a better basis for judging what further work is actually necessary.
Remove the cleaner without making the rinse a second source of damage
The guide permits ordinary hose water, a watering can or a bucket for removing detergent. The distinction from a power washer is the concentrated force of the jet, which the source specifically discourages on teak. Follow the permitted rinsing method for the particular piece and avoid directing unnecessary water into joints. A rapid strip of lighter wood after aggressive spraying is not evidence that the cleaning method preserved the surface.
After residue removal, pat away excess water with a fresh microfiber cloth and allow complete drying. Plan that time before seasonal storage rather than washing the set immediately before closing it away. Check recesses and the underside of slats as well as the broad top. Detergent left in a corner is not an extra protective layer, and a dry-looking seat can conceal moisture where cushions or folded parts will soon trap it.
Keep sanding and protection as deliberate later decisions
The article discusses light sanding for marks that survive ordinary cleaning, but that removes surface material and can leave a visibly lighter patch. Establish whether the furniture maker supports it before choosing an abrasive. Work along the grain only within the appropriate repair method and do not assume that more sanding will make every area match. Important or previously finished pieces may need advice about how the local repair will blend.
The source's warning about olive oil distinguishes a non-drying kitchen ingredient from a teak-care product. Do not add food oil to a cleaned set in the hope of supplying universal protection. Likewise, a teak protector, sealer or oil should be selected as a compatible system, not stacked with unrelated waxes simply because the overview names several possibilities. Cleaning, drying, any surface repair and the chosen protective treatment each need their own justification.
References
- 5 satisfying steps to clean teak outdoor furniture – for mid-summer refreshes and seasonal storage. Homes and Gardens; Ottilie Blackhall.
Removing dry debris first makes the later wash more controlled and less abrasive.


Leave a Comment
Comments (0)