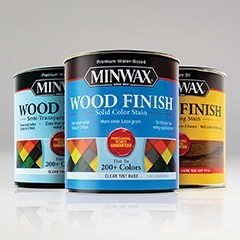
Test Stain Color after Proper Sanding and Dust Removal
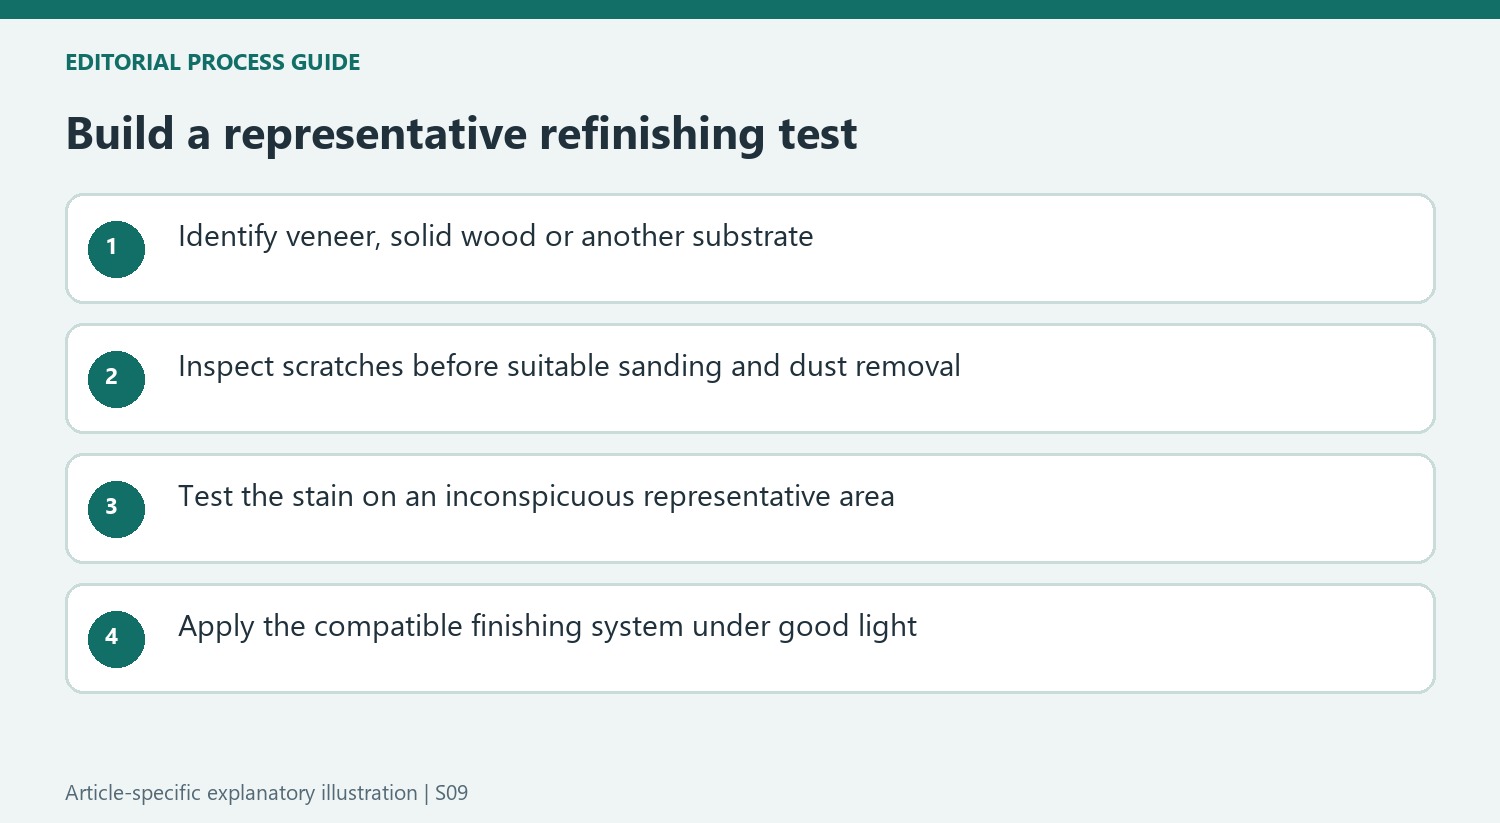
The source explains that scratches and nicks can take up more stain than smooth wood, making poor preparation more visible. Sand appropriately for the material, then remove dust from the workpiece and bench. Test the chosen stain in a hidden place.
Stir products according to their directions and use compatible brushes for the finish stage. Before recoating an old surface, remove incompatible oils or waxes and prepare it as instructed. Good lighting and ventilation help identify missed areas while keeping the process controlled.
Understand what stain cannot change
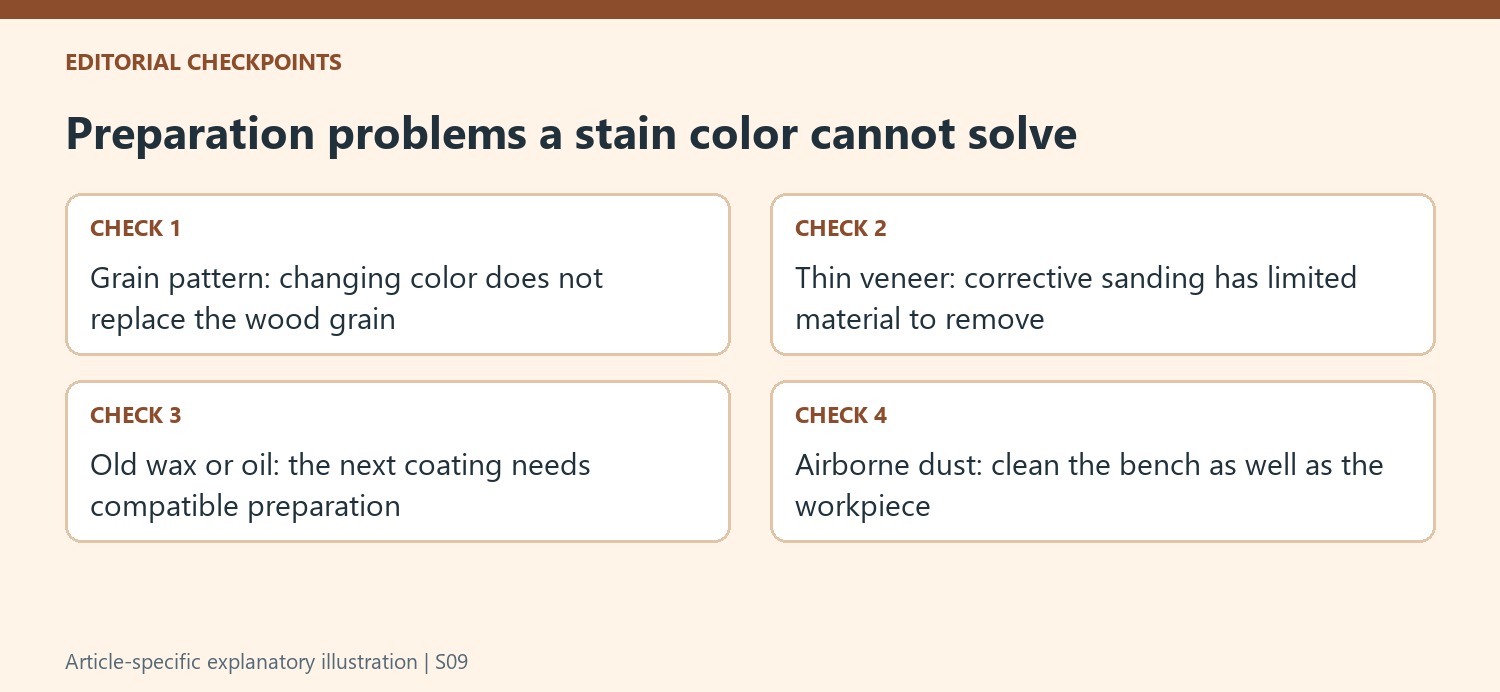
The Minwax tips note that particleboard, veneer and different grades of timber absorb stain differently. Changing color also does not change the grain pattern. Inspect the substrate before choosing a finish system, particularly where thin veneer limits sanding. A test patch helps reveal the actual result, while a photograph on packaging represents only an example rather than a guarantee for the piece being restored.
Use light to find defects during application
The source recommends facing the strongest work light so runs, missed areas and drips are visible immediately. Good ventilation is also part of its preparation advice. Keep the product instructions available for gloves, eye protection and handling. Spotting a defect while the coating remains workable is different from attempting to sand it out after it has cured.
Give a new coat a properly prepared surface
Before recoating, the guide calls for removing oils and wax, allowing the old finish to dry and lightly scuffing it as appropriate for adhesion. Dust should be vacuumed from both the piece and the bench rather than blown back into the room. Confirm that the new coating is compatible with the existing one before using the article's sanding example. Preparation, product choice and clean surroundings work together.
Inspect both the material and the marks already in it
Minwax's refinishing tips explain why a color treatment cannot compensate for every material choice. Particleboard, veneer and grades of timber can absorb differently, while the grain pattern remains even when the color changes. Identify which surface is actually present before deciding how much sanding is safe. A thin decorative veneer and a solid board offer different room for corrective abrasion, even when their finished faces initially look alike.
Existing scratches and nicks can take more stain than smoother surrounding areas, making a preparation defect more visible rather than concealing it. Check those marks under strong light before moving to the color stage. Then use an inconspicuous stain test on representative material. A sample is especially useful where repaired and original areas meet, because the packaging photograph cannot predict how that particular combination will absorb the product.
Make application conditions help reveal errors early
The source recommends facing the strongest work light so missed areas and runs can be noticed while applying the finish. Arrange the piece and brush movement so edges remain visible, rather than discovering a drip only after the piece is turned the next morning. Keep the work area ventilated and use the protective equipment specified by the product. Read the directions first, since tools and drying requirements vary between formulations.
Ingredients can settle in stains and clear finishes, so redistribute them as directed rather than shaking unwanted air into the mixture. Select an applicator for the particular stage: the guide distinguishes tools useful for stain or conditioner from a quality bristle brush used for a smooth final topcoat. Owning one convenient foam brush does not establish that it is the intended tool for every container in the finishing sequence.
Keep a recoating project clean enough for adhesion
Before a new coat is considered, the old surface must be compatible, clean and appropriately prepared. The article specifically flags oils and wax as materials to remove, followed by drying and suitable light scuffing. Check the actual coating system before following an example abrasive grade. Simply adding a new finish over a residue-covered surface can leave an adhesion problem that better brush technique will not solve.
Dust control then matters on both the piece and the bench. Vacuuming the residue away is preferable to blowing it back into the work area where it can settle into the wet film. Follow the chosen system for any final wipe and the condition required before coating. The combined result depends on a suitable substrate, representative color test, compatible preparation and clean application conditions; no single stain color or final polish can supply all four.
References
- Top 10 Wood Refinishing Tips & Techniques from Bruce Johnson | Minwax®. minwax.com; WHERE.
Preparation affects both absorption and the appearance of the final coat.


Leave a Comment
Comments (0)