
Apply Clear Wood Finish in Controlled Coats
The source recommends applying suitable clear finishes along the wood grain and following the label for recoating. Stir settled ingredients as directed rather than shaking a product that can trap bubbles. Heavy coats can take longer to dry and attract more dust.
Test an inconspicuous section before sanding between coats. If the finish balls up, it is not ready for that stage. Remove sanding dust before the next application and use the specified drying period rather than rushing the project into normal service.
Mix settled material without introducing bubbles
Minwax advises stirring the ingredients that have settled in the container rather than shaking the finish. That helps redistribute the formulation without trapping unwanted air. Use the mixing method specified for the exact product, and keep the work area free from dust. A smooth result depends on preparation as well as what happens during the final brush pass.
Use controlled coats along the grain
The source describes brushing most clear finishes in the direction of the grain and lightly tipping off each section to reduce marks. A thick application dries more slowly, can become uneven and is more likely to collect dust. Follow the chosen formulation for brush type, coverage and the number of coats instead of treating every clear product as interchangeable.
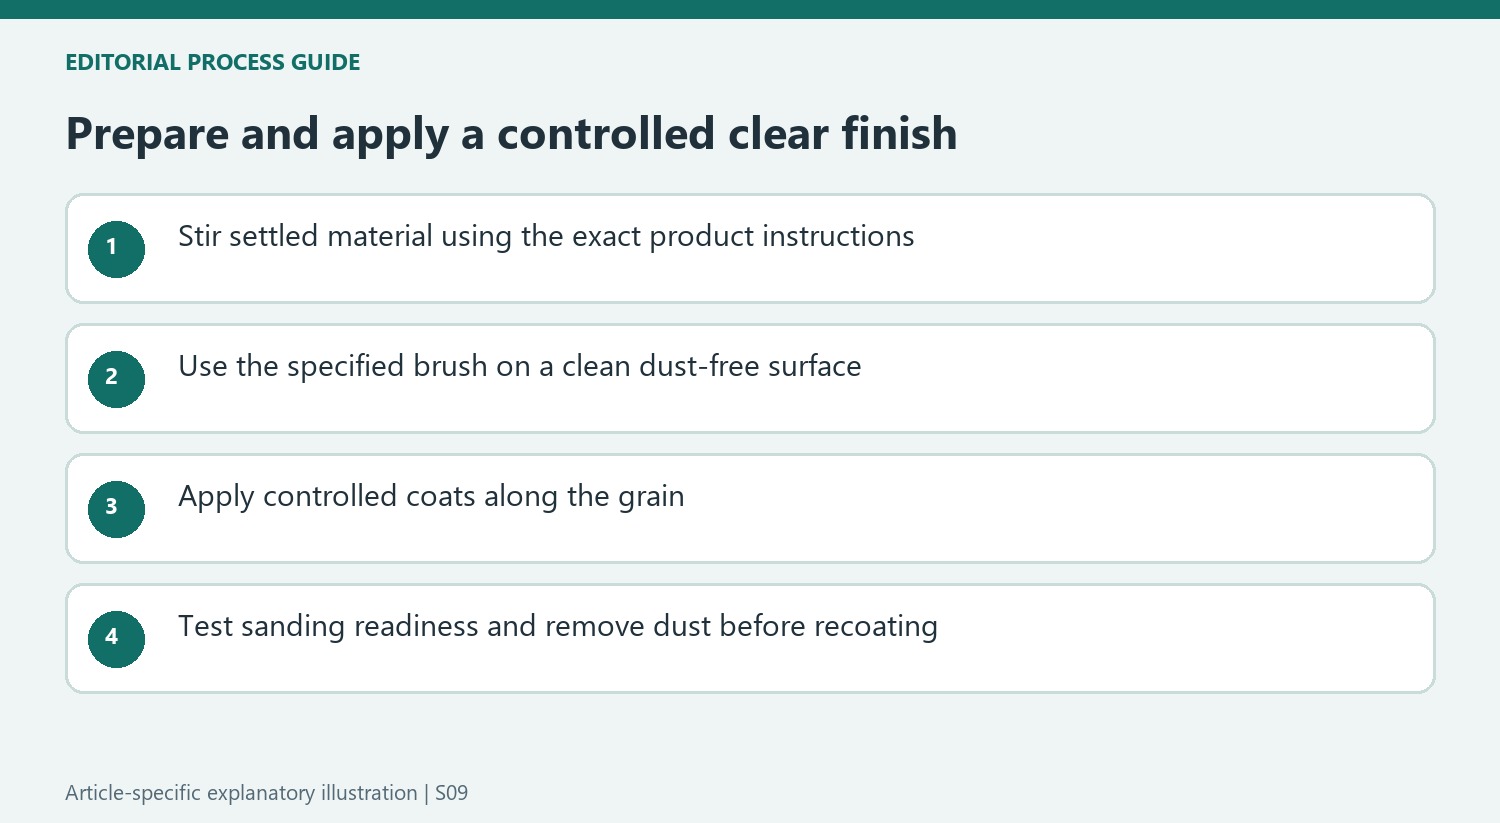
Test readiness before sanding or normal use
The guide recommends a small hidden sanding test: if the finish balls up, stop and allow more drying time. Remove the sanding residue before recoating. Its general discussion of normal use after a day is subordinate to the exact label, which can specify different recoat and service conditions. A surface that feels dry is not automatically ready for the next stage of a finishing project.
Prepare the can, the brush and the surroundings together
The Minwax overview connects a smooth clear finish with preparation before the brush reaches the wood. Redistribute settled material by the specified stirring method rather than shaking air into the can. Confirm the recommended applicator for the exact formulation, since clear finishes do not all use interchangeable brushes or cleanup procedures. Keep the label available so the mixing and handling instructions remain part of the job instead of a memory from another project.
Remove dust from the workpiece and the working area before starting. A thicker wet coat stays exposed to settling particles for longer, which is one reason the source favors controlled applications. Set out the drying space in advance so the piece will not need to be moved through a dusty room immediately after coating. Good preparation reduces avoidable defects without requiring the final brush pass to correct every problem.
Control the coat rather than trying to finish in one pass
For the finishes covered by the overview, the direction of the grain provides the guide for the brush. The source describes a light tipping-off pass to reduce marks and bubbles, rather than repeated aggressive brushing as the film begins to set. Follow the chosen product's coverage and application directions. Adding extra material simply to obtain immediate depth or gloss can leave an uneven coat that takes longer to reach the next stage.
Pay attention to edges and the end of each stroke, where excess material can collect. Inspect with suitable work lighting while the coating is still in its permitted working phase. If a defect has already become too tacky to address according to the instructions, do not assume more brushing will improve it. The corrective method and timing should come from the actual finish system, not an improvised combination of sanding and extra liquid.
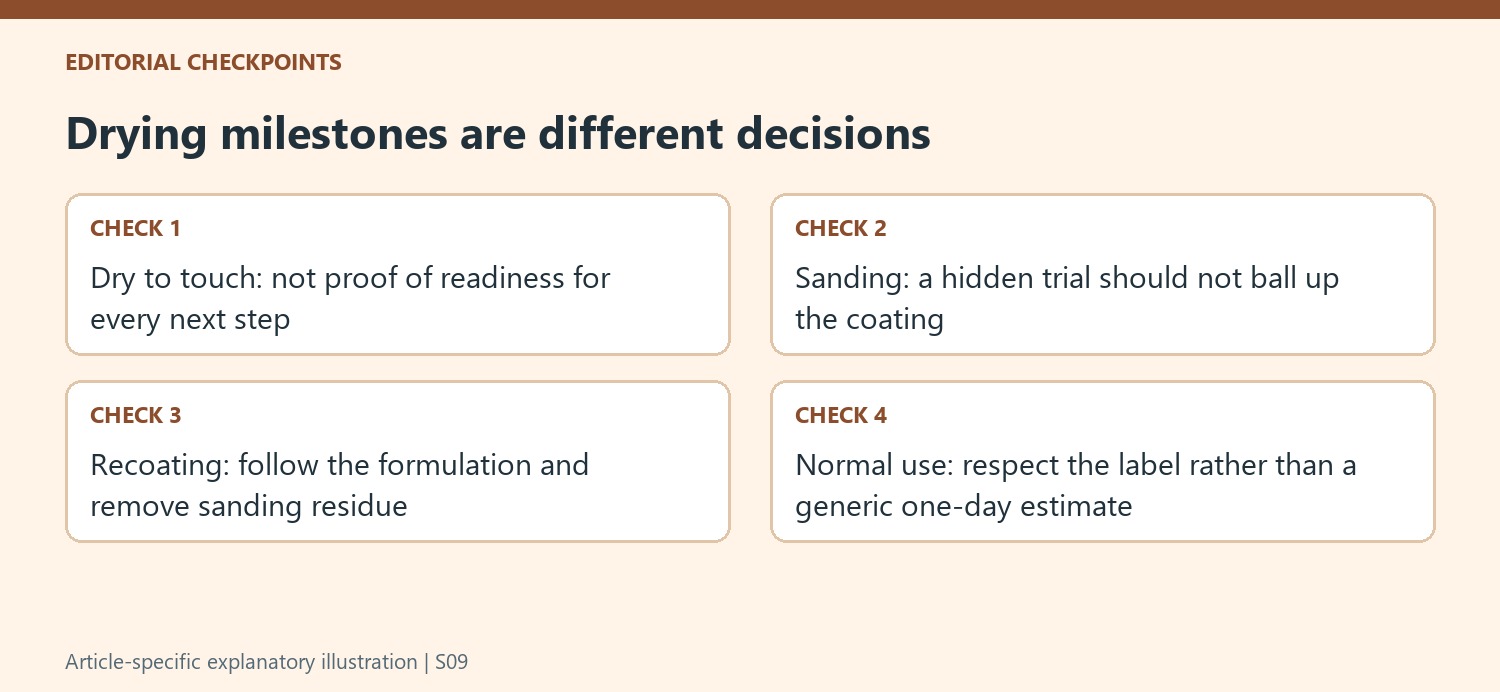
Check readiness separately for sanding, recoating and use
The guide proposes a small hidden sanding trial before committing to the broad surface. If the finish gathers into soft balls, it has not reached the required condition; stop rather than forcing the abrasive through it. Observe the label's minimum timing and recheck as directed. Room conditions and coat thickness can affect progress, so a general estimate in an overview is less useful than the exact product's requirements and the observed test.
Once sanding is appropriate, remove the resulting dust before another application. Recoating introduces a new bond and appearance requirement, while normal service adds handling and wear, so those milestones should not be treated as identical. The overview's broad mention of use after a day is expressly subordinate to the product label. Plan the return of objects and everyday use around that specified condition rather than assuming dry-to-touch means the finishing project is complete.
References
- FIND A RETAILER NEAR YOU. minwax.com; WHERE.
Thick application can increase unevenness, drying time, and trapped dust.


Leave a Comment
Comments (0)