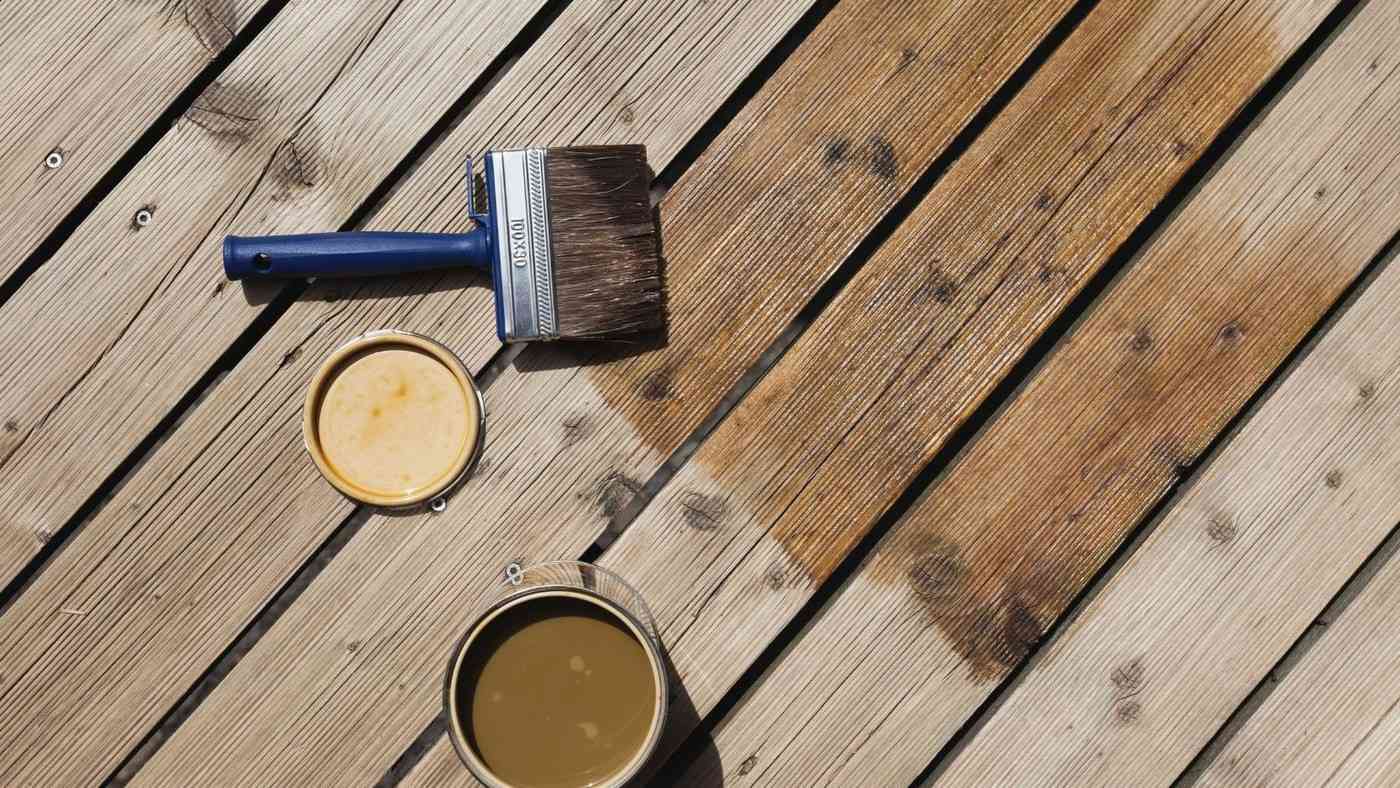
Prepare and Test Wood before Applying Stain
Wood stain can be difficult to reverse because color may penetrate the timber rather than sit only on top. Start by checking the wood and removing incompatible old coatings through an appropriate preparation process. Clean away sanding dust before application.
Test the selected stain in a less visible place and follow its instructions for tools, timing, and excess removal. Do not assume a single grit sequence suits all veneers and boards. Good preparation reduces the chance of drips, blotches, and later corrective sanding.
Check whether a conditioner is appropriate
The experts discuss pre-stain conditioner as a way to reduce uneven absorption, especially in softer woods such as pine. That is a product-system decision: match the conditioner to the stain and follow the specified application window. It is not a substitute for removing incompatible old coatings or repairing a damaged substrate. Test the full preparation and stain sequence on representative material.
Control the application position and excess
One suggested method uses a lint-free cloth along the grain to limit drips, with the work lying flat where possible. That gives more control over stain collecting on vertical edges. The stain label still determines acceptable tools and when excess must be removed. Do not keep adding color over a tacky patch in the hope of making it more even.
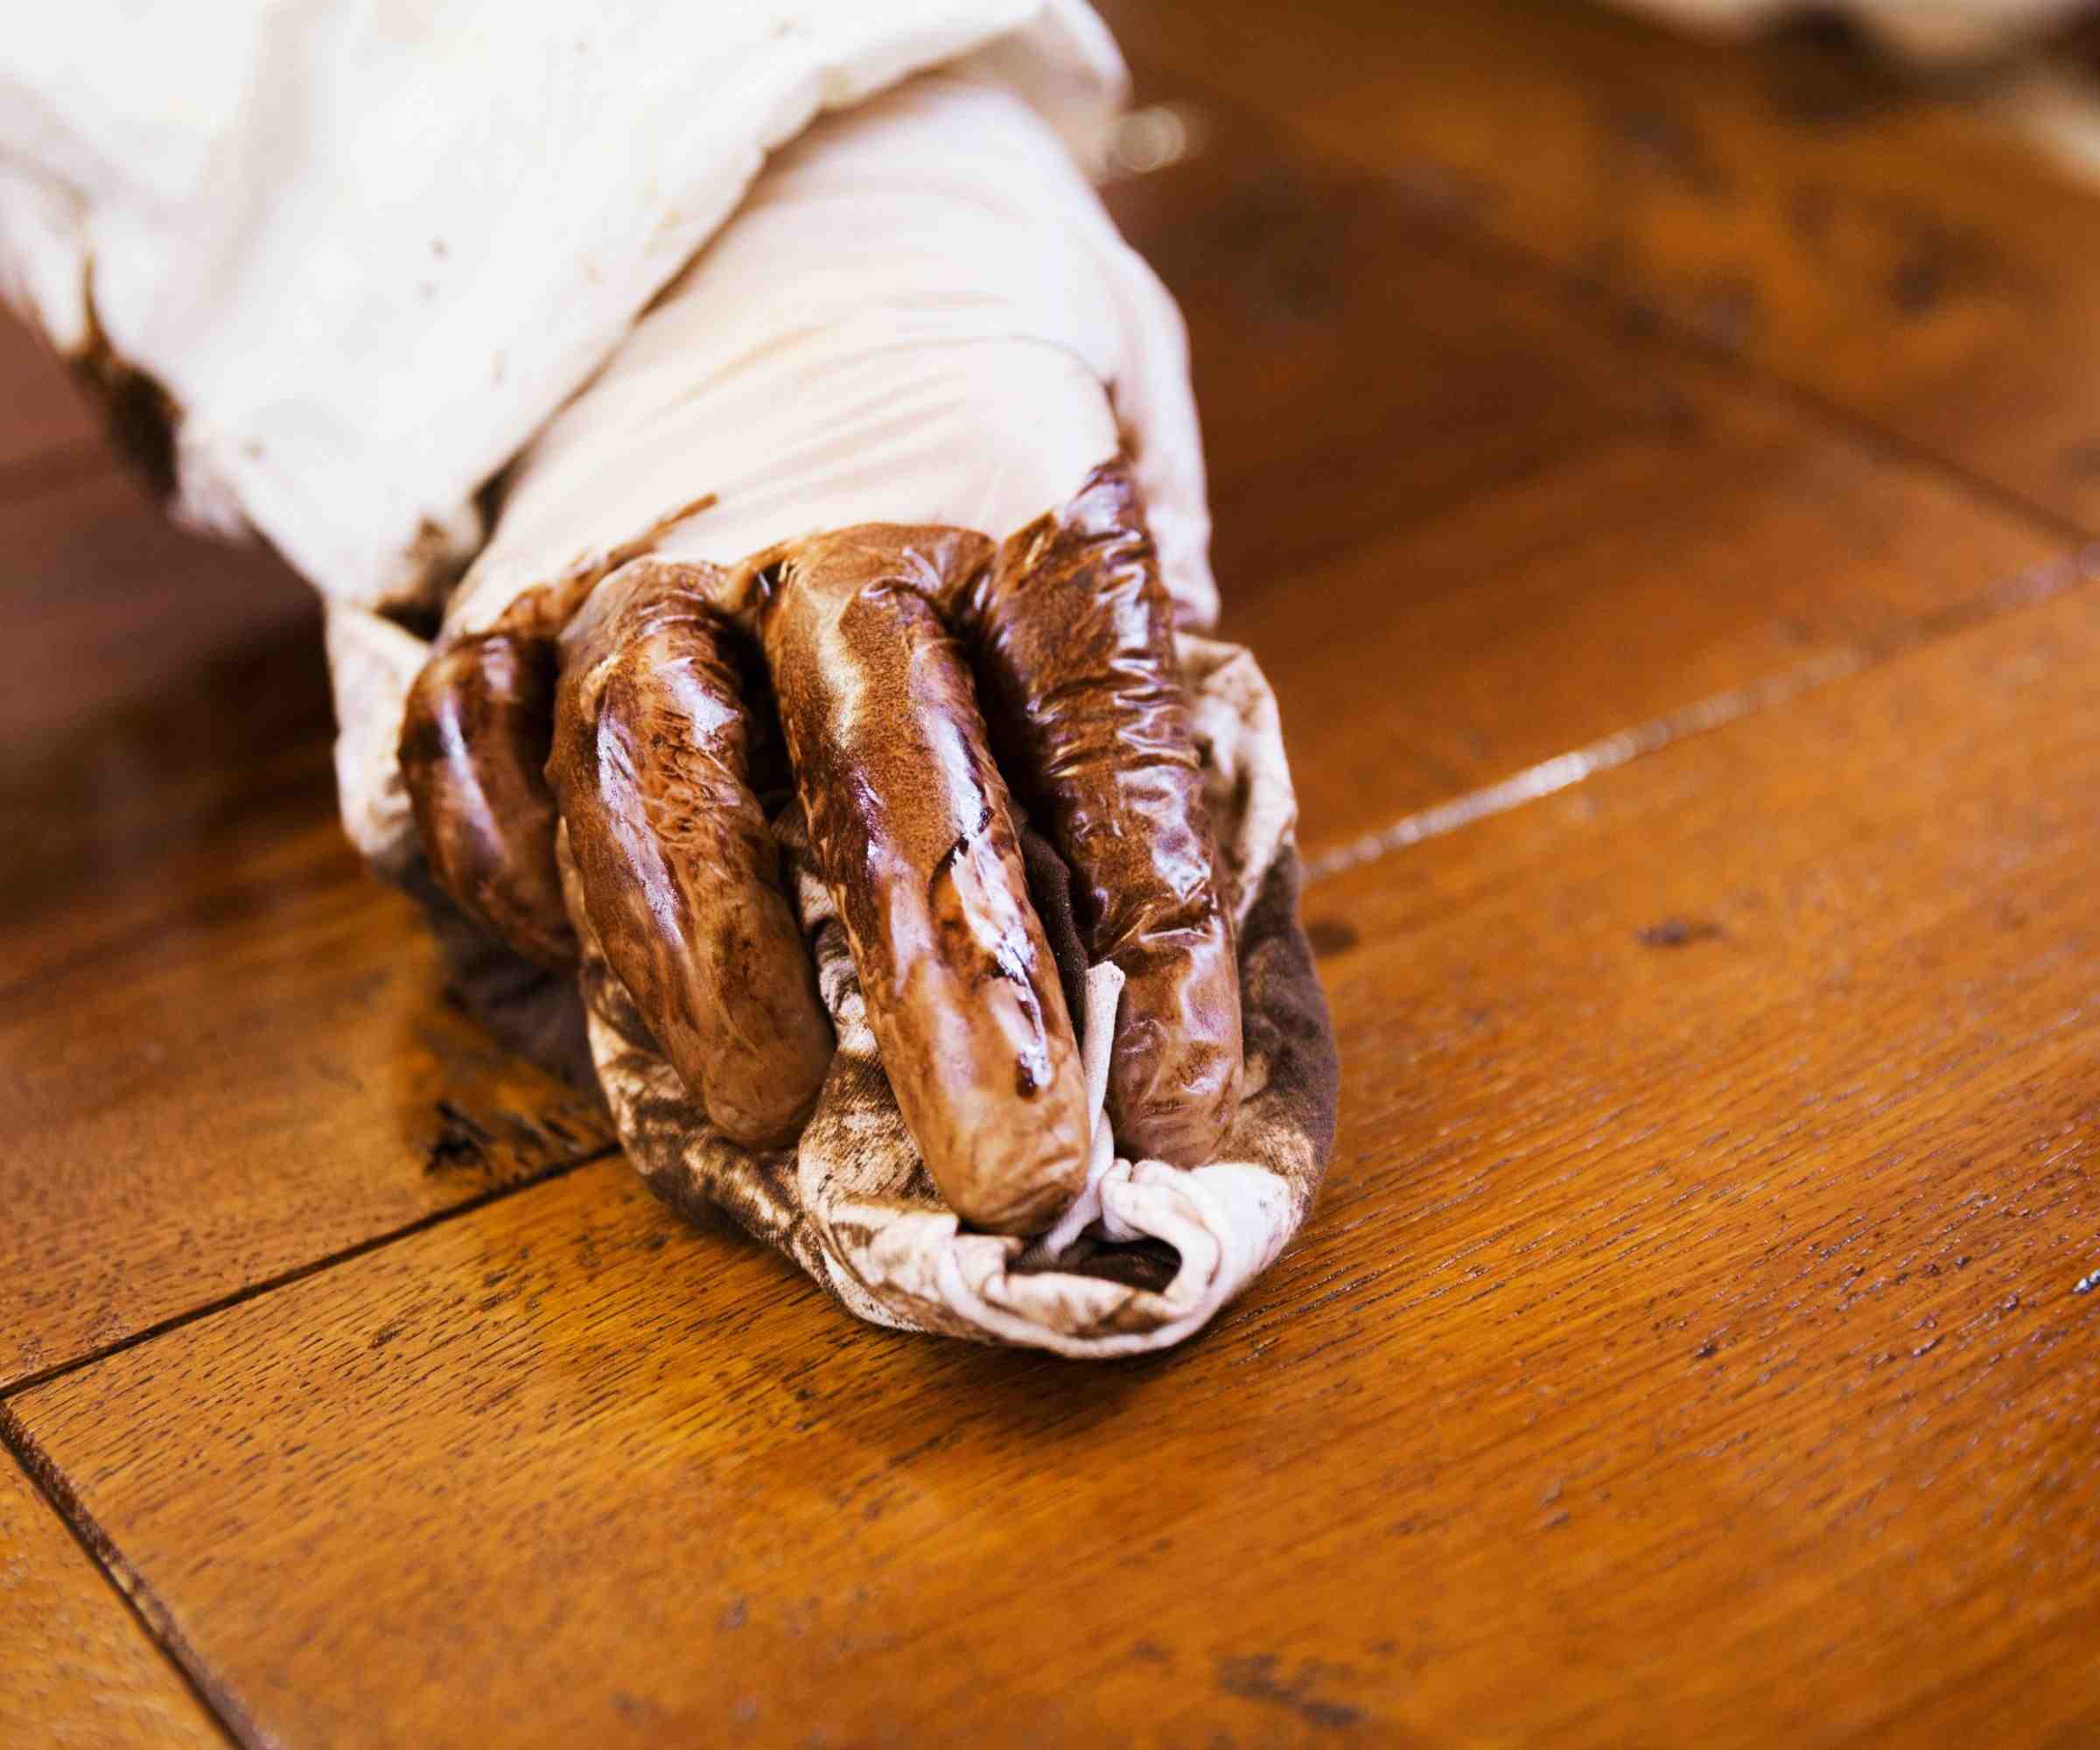
Match the protective coating to the location
The feature distinguishes interior furniture that may need a separate topcoat from outdoor stains that can include protective properties of their own. Select products for the actual exposure and use. A cabinet facing grease and water is different from a fence panel. Follow the current coating instructions rather than transferring the article's example drying times to another formulation, temperature or wood surface.
Assess what sanding can safely change
The source warns that penetrating color can be difficult to reverse. That makes the preparation decision especially important for thin veneer, previously repaired areas or wood with a coating already present. Identify the substrate before choosing an abrasive sequence. A grit range mentioned for one situation is not permission to sand every cabinet face equally, and removing a surface film does not necessarily remove color that has entered the timber.
After suitable preparation, collect the dust from the workpiece and nearby surface before applying anything wet. Inspect in good light for scratches that may become more obvious once stain is introduced. A representative test should include the planned preparation, not just the final color application. That comparison helps determine whether a visible problem comes from the stain selection or from uneven material and sanding beneath it.
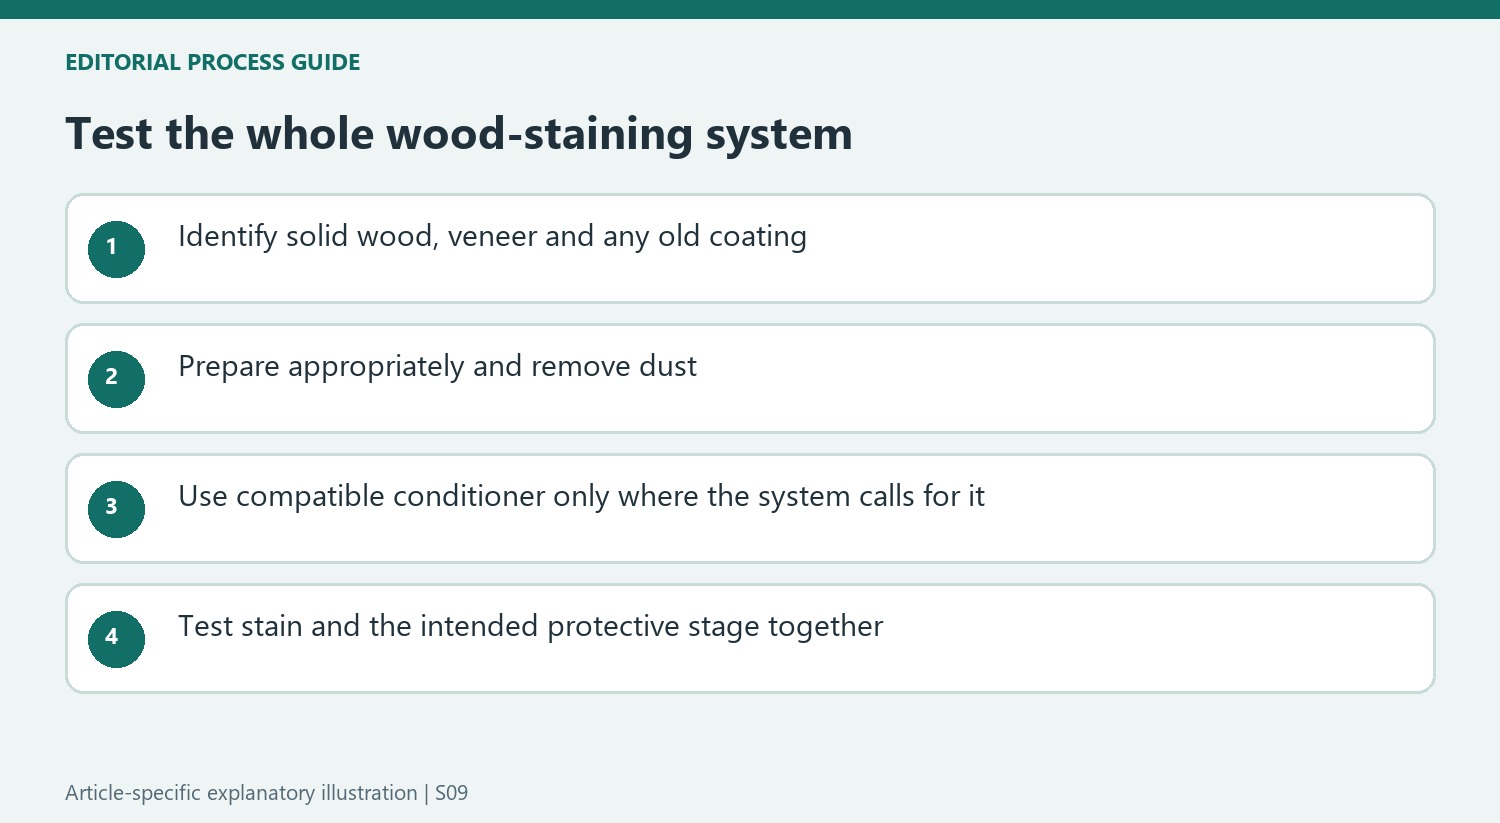
Keep conditioner and stain within one compatible method
The experts discuss pre-stain conditioner to help control uneven uptake, especially on absorbent woods such as pine. Check whether the chosen stain system calls for it and follow the specified time window between stages. Conditioner is not a substitute for a sound substrate or removal of an incompatible coating. Record the products and timing used on the test so the preferred sample can guide the larger application.
A lint-free cloth is one application option described by the source, with work laid flat where possible to reduce runs. The current stain label determines whether that tool is appropriate and how excess should be removed. Pay attention to the edges before shifting the piece, since horizontal application can still leave a collection point at a corner. Avoid repeatedly adding color to a tacky area in an attempt to hide a developing drip.
Select the finishing system for the eventual exposure
A kitchen cabinet, an indoor side table and an outdoor fence face different combinations of water, grease and weather. The guide therefore separates interior topcoat needs from outdoor stain systems that may include protective properties. Confirm the intended use of every component before beginning, rather than combining an indoor color treatment with an unrelated outdoor coating because both are already on hand.
Read the exact directions for drying, permitted recoats, applicator handling and cleanup. The source's example times do not cover every formulation, temperature or application thickness. If a drip hardens or a patch needs correction, seek the product-specific method before sanding or introducing a solvent that may affect the surrounding area. A complete test of preparation, color and compatible protection offers more reliable evidence than a quick wet-color check alone.
References
- The best way to stain wood – 4 time-saving tips from the experts. Homes and Gardens; Chiana Dickson.
Uneven absorption and remaining coatings can create a patchy result.


Leave a Comment
Comments (0)