
Prepare and Patch-Test before Cleaning Wood Cabinets
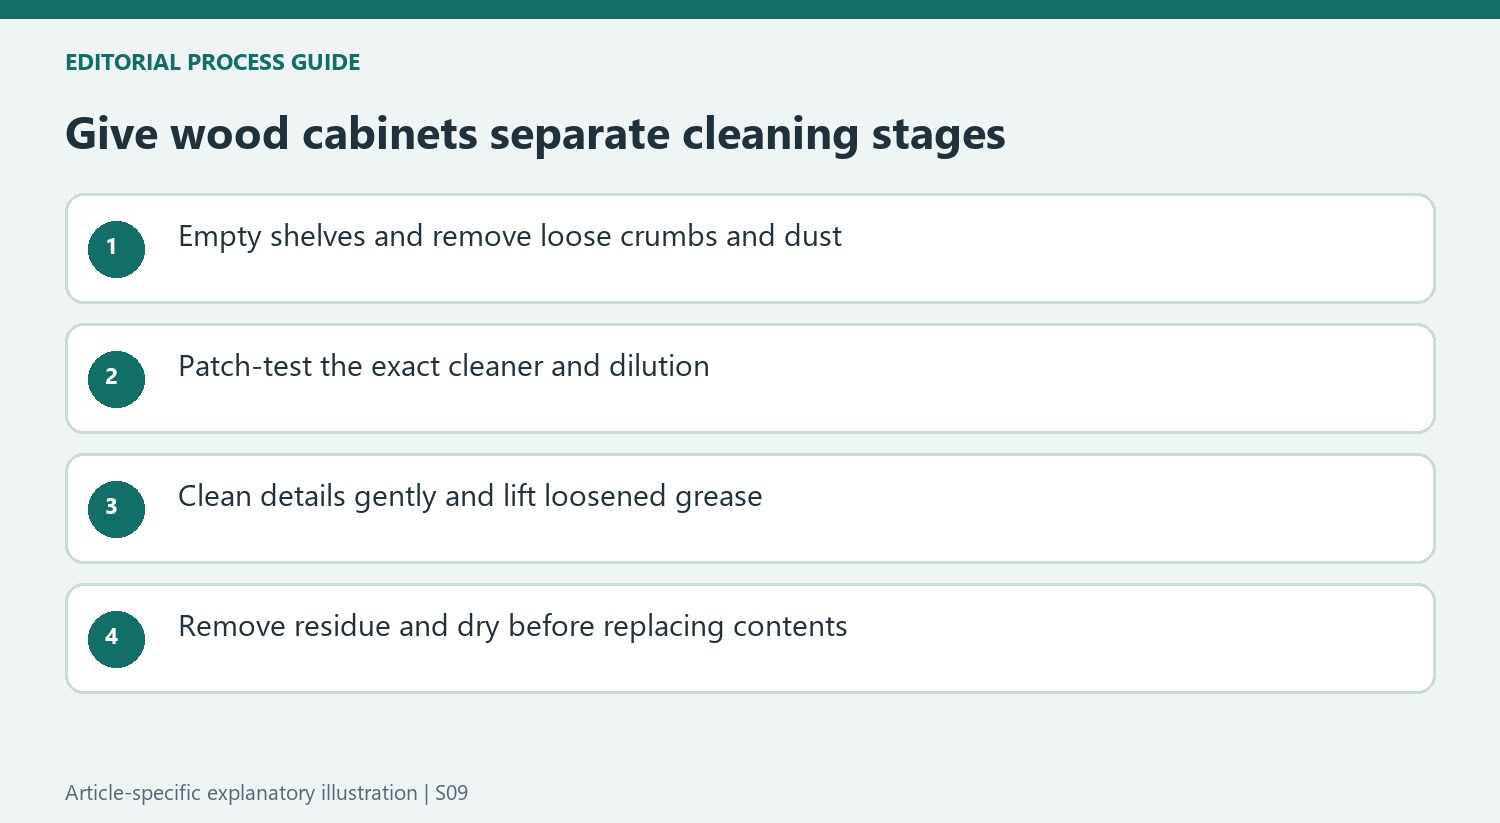
The wood-cabinet reference begins with preparation: empty the cabinets so interior surfaces and corners can be reached. Dust should be removed before damp cleaning spreads it into residue. A microfiber cloth, soft sponge, or small gentle brush can help reach detailed areas.
Test the chosen cleaning solution on an inconspicuous section before treating visible doors. The existing wood finish determines what the surface can tolerate. Work with modest moisture and a gentle product suitable for that coating, then remove residue rather than leaving liquid around joints or decorative edges.
Work around details without trapping liquid
The source suggests a soft nylon brush or old toothbrush for detailed woodwork after loose dust has been removed. That helps reach grooves without resorting to a rough scouring pad. Check that the chosen tool does not scratch the finish, and wipe away loosened soil with a clean damp cloth. Handles, edges and interior corners need particular attention because they collect grease and crumbs.
Give drying its own pass
A fresh dry cloth follows the cleaning and residue-removal stages. This matters around joints, door edges and decorative recesses where liquid may remain after the broad face looks clean. The guide emphasizes getting as much moisture off as practical before air drying. Do not refill the cabinet while surfaces remain damp or use a closed door to hide a wet interior.
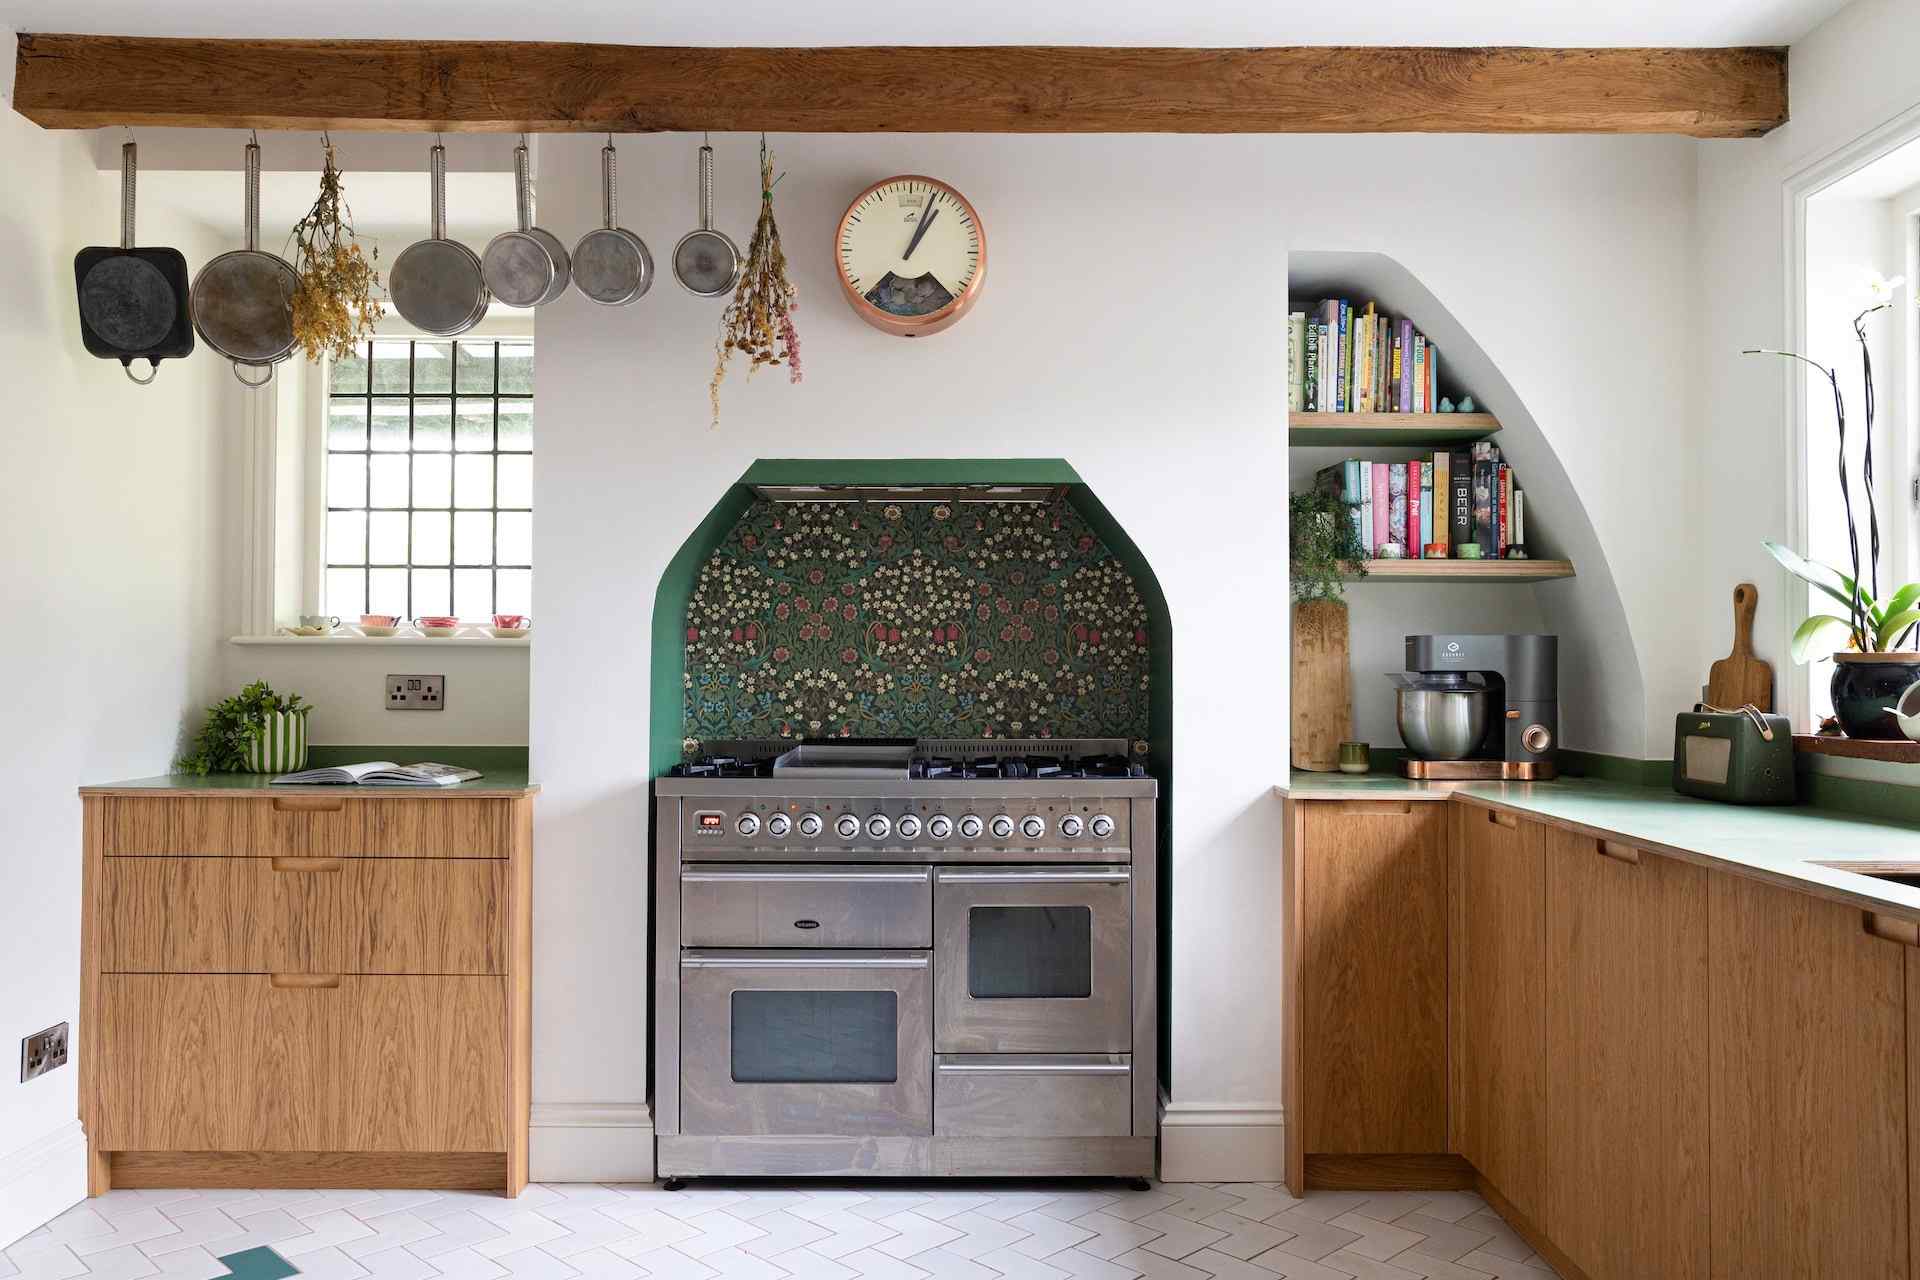
Use the exact product dilution
The guide distinguishes concentrated oil soap, which must be diluted according to its label, from ready-to-use formulations. Those are not interchangeable application instructions. Check the existing coating and test any new product before treating the visible doors. Cleaning, buffing and applying a protective finish are also different operations. A greasy patch needs compatible soil removal first, rather than an additional layer of shine over the dirt.
Use the empty cabinet as an opportunity to inspect
Removing stored items gives access to back corners and lower edges that are difficult to clean around dishes or packaging. The source starts with this preparation rather than spraying the visible doors immediately. Collect crumbs and loose dust first, using an appropriate vacuum attachment or soft cloth. Inspect the finish at handles and beside the cooking area, where grease and repeated contact may require attention distinct from ordinary shelf dust.
Set the contents somewhere clean while the cabinet is treated and dried. An empty interior also helps reveal whether a mark is loose residue, a damaged coating or moisture-related deterioration. Do not cover an unexplained wet area with a new liner simply to make the space look finished. Establish the cause and allow appropriate drying before deciding whether the cabinet is ready to be filled again.
Keep the product test and the detailed cleaning controlled
A hidden-area trial is useful only when it represents the intended method. Use the planned dilution and cloth, observe the finish after drying and check for a change in color or gloss before treating the broad door face. The guide distinguishes a concentrated oil-soap formula from its ready-to-use counterpart; read the exact bottle rather than transferring directions between them. Product identity matters as much as the general description of a wood cleaner.
For grooves and detailed woodwork, a soft nylon brush or old toothbrush can help reach material that a flat cloth misses, provided it does not scratch the coating. Lift the loosened soil with a clean damp cloth and keep moisture away from accumulating in seams. More pressure or a prolonged soak is not automatically a better response to grease. Reassess the finish and approved method if the first controlled pass proves insufficient.
Finish with removal and drying before judging the shine
The source follows the initial cleaning with a fresh damp cloth to remove remaining dirt and cleaner. Refold or change that cloth so the final pass actually takes residue away. Then use a separate dry cloth on the broad panels, edges and recessed details. This sequence avoids evaluating a cabinet while a wet film still disguises haze or streaking, and it reduces the amount of moisture left for air drying.
Any later polishing or protective treatment must suit the existing coating and the selected product's purpose. A cleaner containing oil is not automatically the same thing as a permanent replacement finish. Check the result in ordinary light and address a missed patch with the appropriate cleaning step rather than layering a shine product over grease. Prompt spill cleanup and regular dust removal can then reduce the need for another intensive session around every handle.
References
- The 5 golden rules of cleaning wood cabinets – simple steps to make them shine. Homes and Gardens; Thomas Litten.
Clearing contents and removing dust make a cabinet clean easier to control.


Leave a Comment
Comments (0)