Preserve the Patina You Want When Cleaning Brass Details
The Spruce recommends identifying plating, using soft tools and deciding how much aged appearance should remain.
Plan removal without damaging the fittings
The Spruce describes carefully removing hardware where appropriate, using a manual screwdriver and avoiding damage to soft brass or dirty screw slots. It then recommends determining whether the piece is solid metal or brass-plated. A magnetic base can indicate a thin brass coating that needs gentler treatment. The appearance of a brass handle alone is therefore not permission to apply a strong cleaner or scrub it hard.
Clean the areas that actually need attention
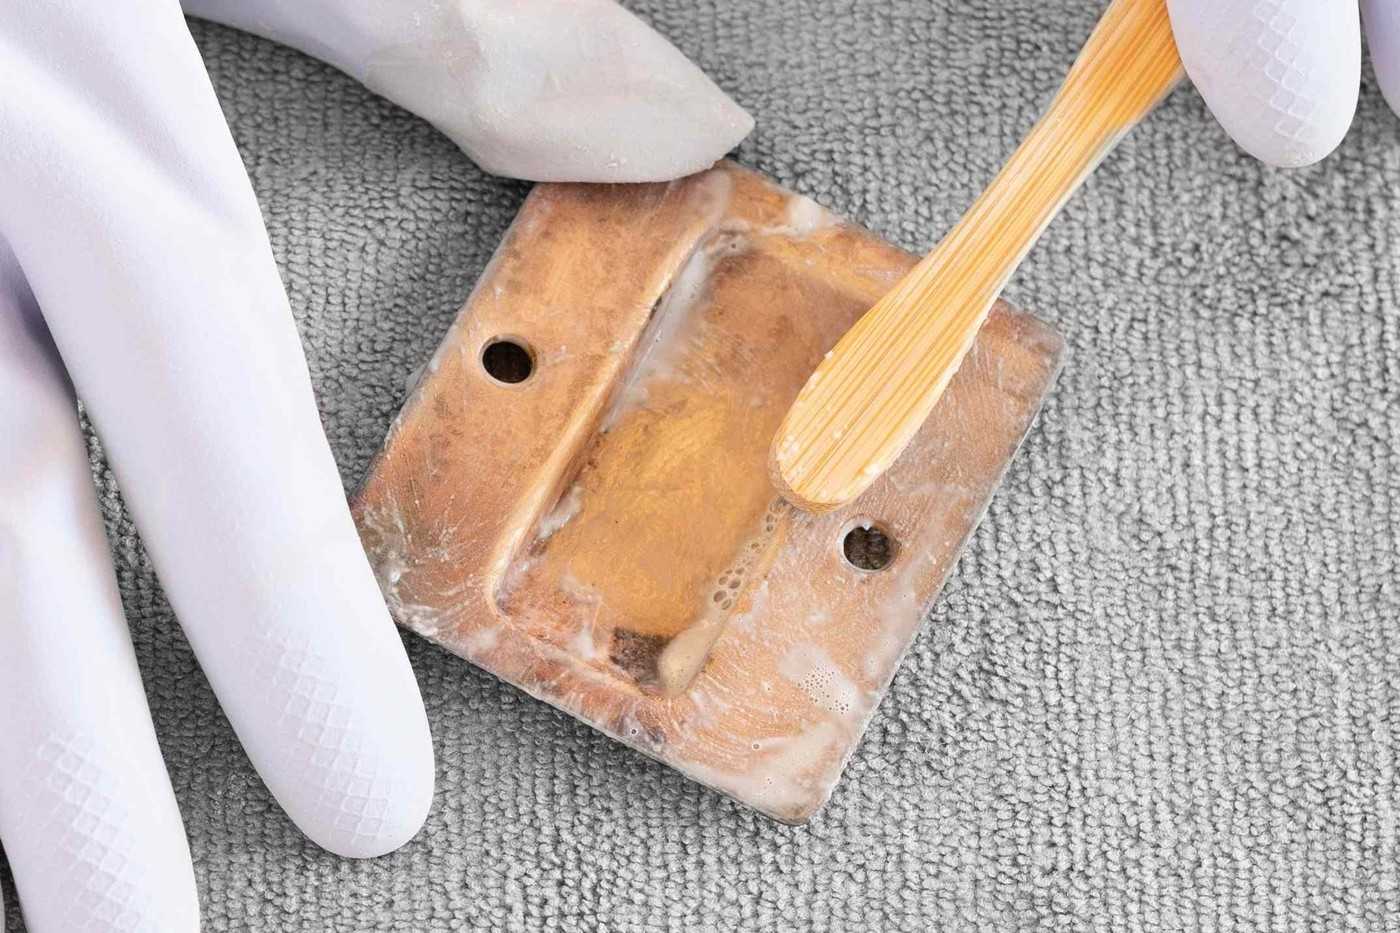
The guide removes ordinary dust and grease before a suitable metal-cleaning process, using soft cloths and a gentle brush for details. Where an aged patina is wanted, it recommends focusing on the raised areas rather than aggressively brightening every recess. Rinse away remaining product and dry each fitting fully before replacing it. Restoration and preservation are different goals, so decide which finish should remain before polishing a decorative piece.
Prepare removal and reinstallation as carefully as polishing
The Spruce cautions that dirty or painted screw slots can prevent a screwdriver from seating properly, and that soft brass is easily marked. Identify the fitting and its attachment before removing it; support anything the hardware holds and retain its small parts. A manual screwdriver gives control, but removal is not automatically appropriate for every installed piece. After a compatible clean, rinse away product from recessed details and allow each part to dry before reassembly. The article's advice to emphasize raised areas when retaining patina is a deliberate appearance choice. Decide that goal first, since polishing every recess evenly can remove the depth the owner intended to keep.
Choose the patina before starting the hardware project
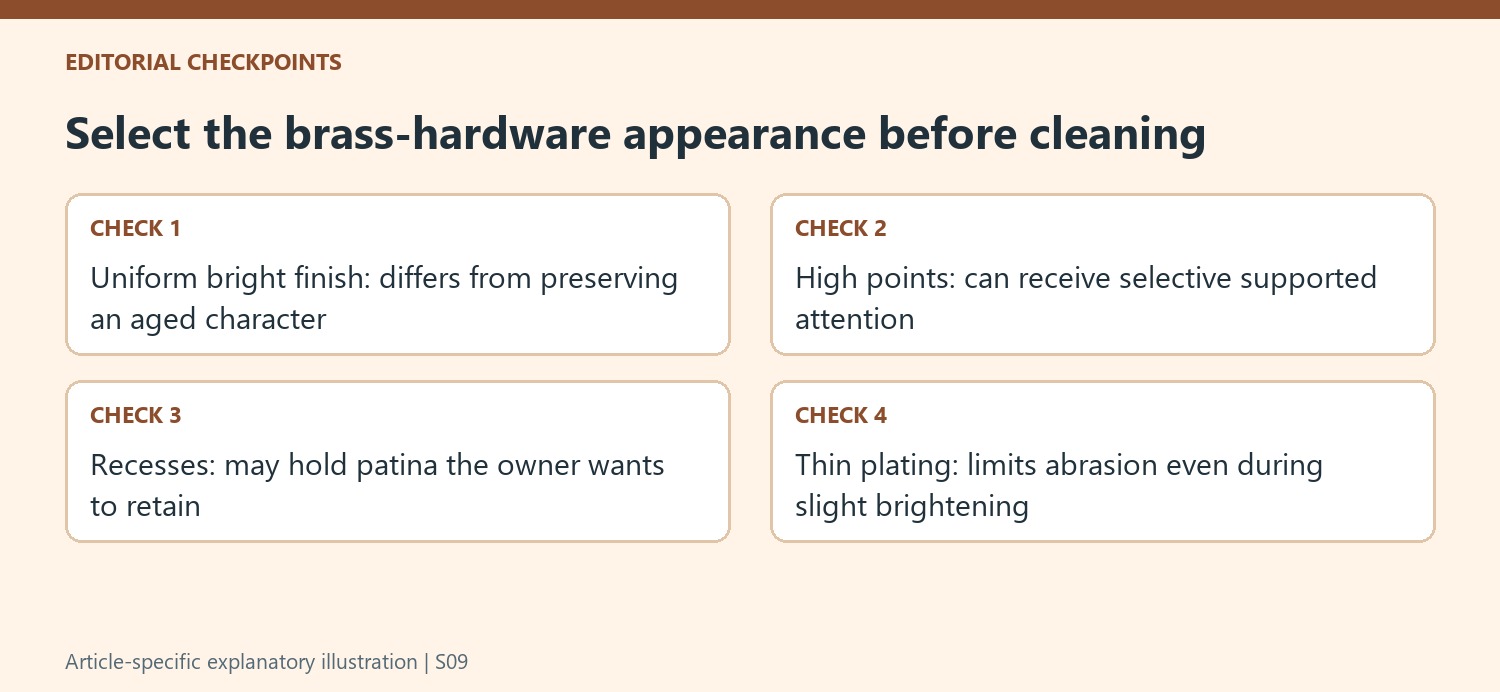
The Spruce recognizes that aged brass details can have an appearance the owner wants to keep. Decide what should remain before choosing a polishing action. A handle with darker recesses and brighter high points is a different visual goal from uniformly bright new-looking metal. Ordinary grime can still need removal, but it should not be used as a reason to erase every dark area without distinguishing the intended patina from unwanted buildup.
The guide suggests concentrating supported cleaning on high points when retaining an antique character. That is a controlled appearance choice, not a guarantee that any cleaner will preserve every historical surface. Valuable hardware, uncertain coatings or collectible pieces warrant expert guidance before alteration. Identify solid brass versus plating as well, because the thin visible layer on a plated piece can be lost through repeated abrasion even when the desired result is only a slight brightening.
Protect the hardware during removal and organization
The source recommends careful removal for a fuller cleaning task and notes that brass is soft enough to be damaged by poor tool handling. Make sure the screwdriver engages the screw properly rather than forcing a blocked or worn slot. A manual approach offers control, but the exact hardware and any loaded hinges still need an appropriate removal plan. Do not make a functioning door unsafe simply to place every decorative component in a cleaning bowl.
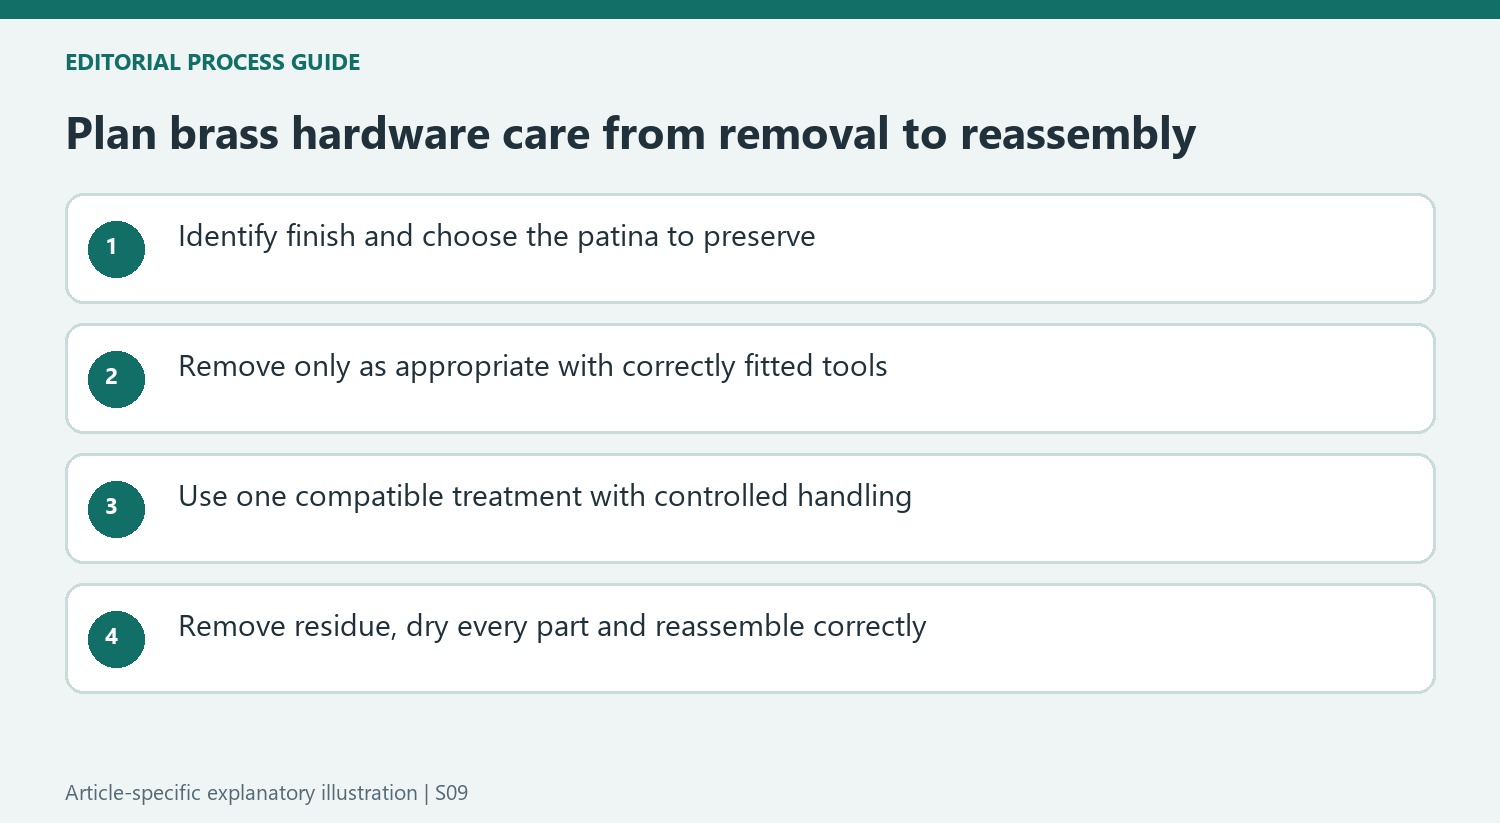
Keep pieces and their fixings associated so the cleaned parts can return correctly. Removal also separates the metal from nearby painted or wooden surfaces that might not tolerate its cleaning product. For a small local mark, follow the guide's distinction rather than assuming disassembly is always required. The project should be scaled to the actual task, with finish compatibility and mechanical handling treated as independent considerations.
Follow the selected product through rinsing and full drying
The article names commercial cleaner and household alternatives, but the current product label and hardware's finish requirements govern the actual method. Do not combine them or take visible fizz as evidence that an unknown surface is safe to scrub. Keep contact and pressure controlled, particularly around plated edges and recessed details. A hidden-area assessment can provide additional information only where the proposed treatment is otherwise suitable for the item.
Complete residue removal and dry each part before reassembly. The source emphasizes this stage to avoid leaving moisture behind, which can undermine the result after the hardware returns to its location. Inspect both appearance and practical fit rather than judging only shine. A careful restoration retains the chosen patina, keeps cleaner out of neighboring materials and returns the hardware in working order; it does not end merely when the most visible face looks brighter under the sink light.
References
- How to Clean Brass Hardware to Make It Look Like New. The Spruce; Lauren Thomann.
The Spruce recommends identifying plating, using soft tools and deciding how much aged appearance should remain.


Leave a Comment
Comments (0)