Clean Brushed Nickel with Light Pressure and Mild Soap
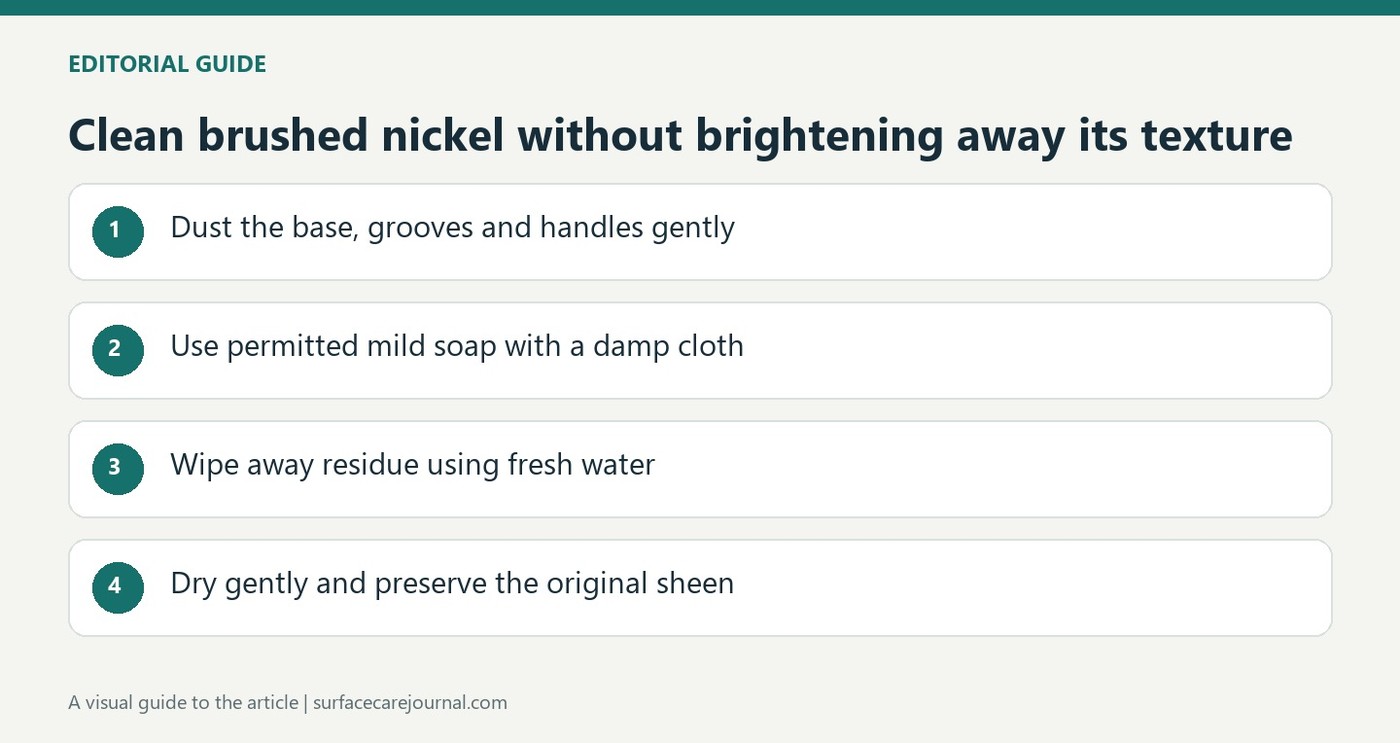
Homes & Gardens recommends first dusting brushed-nickel faucets with a dry microfiber cloth. Pay attention to the base, handles and grooves where loose particles collect. A soft-bristled brush can reach details, but pressure should stay light so debris does not become an abrasive.
For compatible fixtures, use warm water and a small amount of mild dish soap, followed by careful rinsing and drying. The guide cautions against ammonia and harsh cleaners that can dull the finish. Consult the maker before treating water spots with acids, because a brushed surface or coating may have specific limits. Regular gentle cleaning preserves its character better than aggressive polishing.
Remove particles before introducing moisture
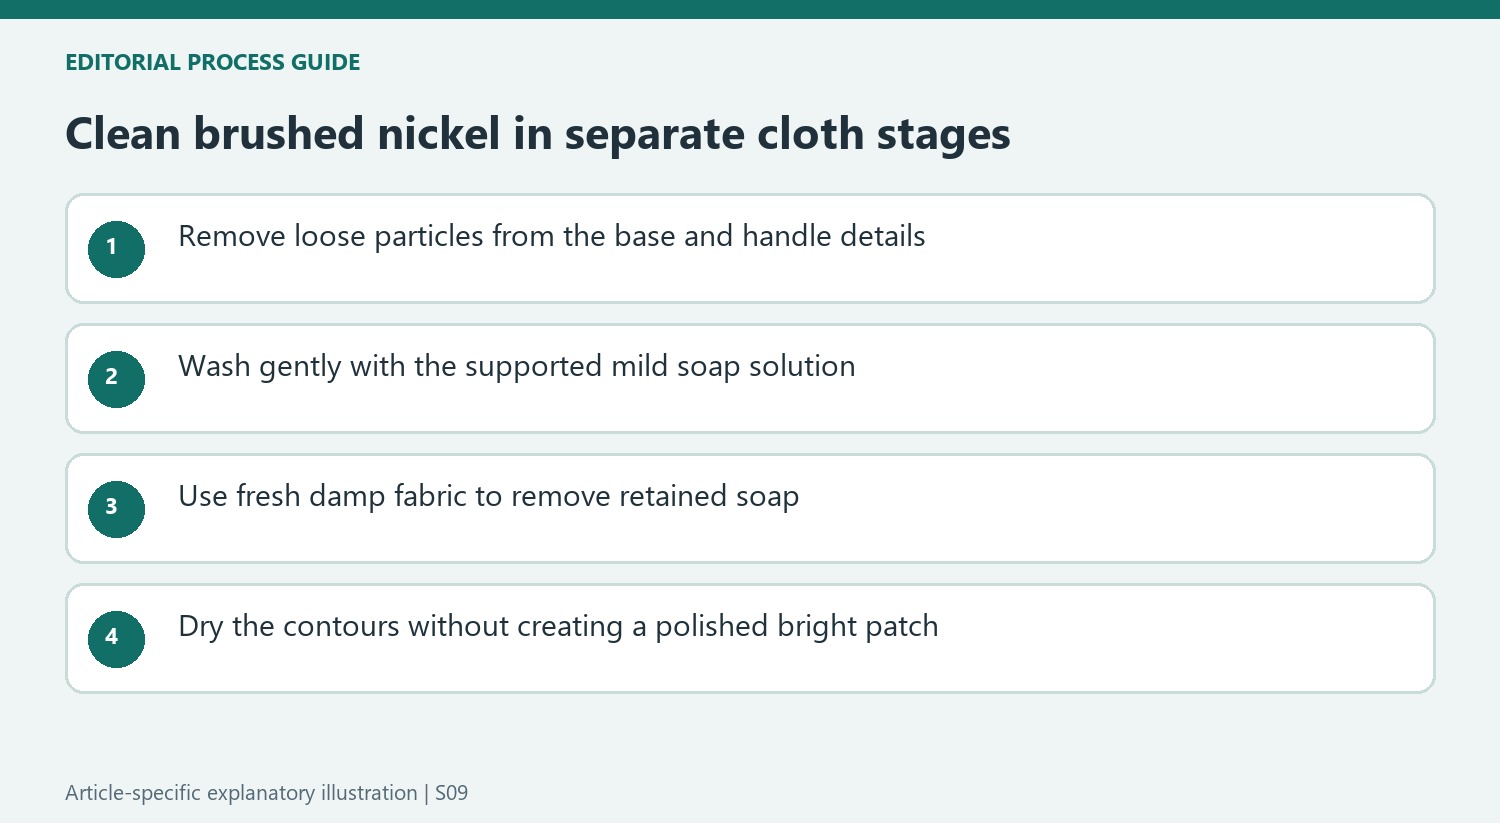
Homes and Gardens places dry dust removal ahead of its soapy cleaning stage. The base and handle details deserve attention because particles collected there can be dragged across the finish by the next cloth. Use a clean soft tool and light pressure. Swap to a fresh cloth when needed rather than carrying trapped grit over the spout again.
Make residue removal a separate pass
The guide follows its mild wash with a fresh cloth dampened in clean water, paying particular attention to seams that can retain soap. Wring that cloth so it does not flood the fixture. Then dry the contours, handles and base with another soft cloth. This sequence separates loosened soil from cleaning residue and helps limit new water marks after the work.
Keep optional treatments conditional
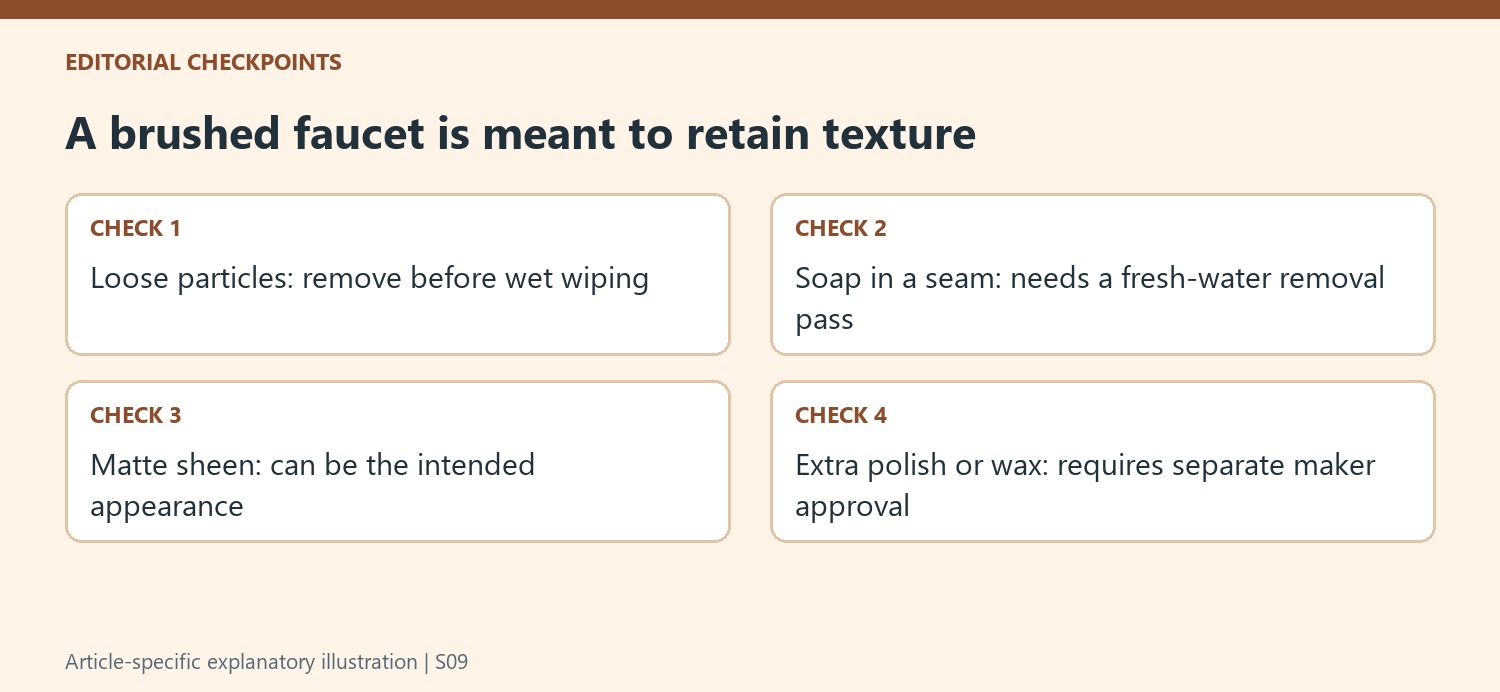
The article includes polishing and protective-product suggestions after the wash. Those are separate compatibility decisions, especially where an appliance-like coating or proprietary finish is present. Consult the faucet maker before adding acid, a metal polish or wax. A brushed surface is meant to retain texture; forceful rubbing that creates a bright patch changes the finish rather than simply cleaning it.
Assess the base and handles before the broad spout
Homes & Gardens starts with dry dust removal, which gives useful attention to the details that can collect particles. Inspect the handle junctions, base and decorative grooves before introducing a damp cloth. A broad surface may look clean while those details retain loose material that would be carried across the finish during washing. Light pressure and a clean soft tool keep this first stage focused on removal rather than abrasion.
A soft toothbrush can help reach a permitted detail, but its smaller contact area should not become a reason to scrub harder. The source warns that excessive force can create shiny spots or an uneven appearance on brushed nickel. Keep the intended matte character in view. A bright patch is not necessarily a cleaner patch, and changing the finish through friction cannot be treated as a successful removal of ordinary dirt.
Make the fresh-water pass reach retained soap
After mild soapy cleaning, the guide uses fresh microfiber dampened with clean water. Wring it so that it is moist rather than dripping and pay attention to contours that can retain the cleaning mixture. This second cloth has a different task from the first: removing the cleaning material itself. Repeatedly wiping with the soapy cloth cannot substitute for that stage, even if the surface initially appears uniformly glossy while wet.
The subsequent dry cloth needs to follow the spout, handles and base rather than only the easily reached top. The source connects leftover moisture with hard-water marks, so completing the contours matters to the outcome. Follow the fixture maker where its instructions differ in wiping direction or product choice. A general article's circular-motion suggestion should not override a specific requirement attached to the actual brushed coating installed in the bathroom.
Keep the optional finish products genuinely optional
The article's later suggestions include polish and protective treatments, but each needs its own compatibility decision. Do not infer that the mild soap routine has failed because the faucet still looks intentionally matte. Acids, metal polishes and waxes can be restricted by particular manufacturers, and a successful result on an uncoated item does not settle what belongs on a proprietary faucet finish. Retain the exact product's restrictions before considering an additional stage.
Routine attention can be adapted to the amount of soap, toothpaste and water exposure at the fixture. The source recommends regular care to reduce accumulated marks, not indiscriminate repeated polishing. If a deposit persists after the supported wash, rinse and drying, identify the finish and seek its permitted next step. That approach protects the brushed appearance while keeping loose particles, ordinary grime, soap residue and mineral marking as separate problems to assess.
References
- How to clean brushed nickel faucets without damaging their unique finish. Homes and Gardens; Seraphina Di Mizzurati.
The textured finish needs residue removal without polishing away its intended appearance.


Leave a Comment
Comments (0)