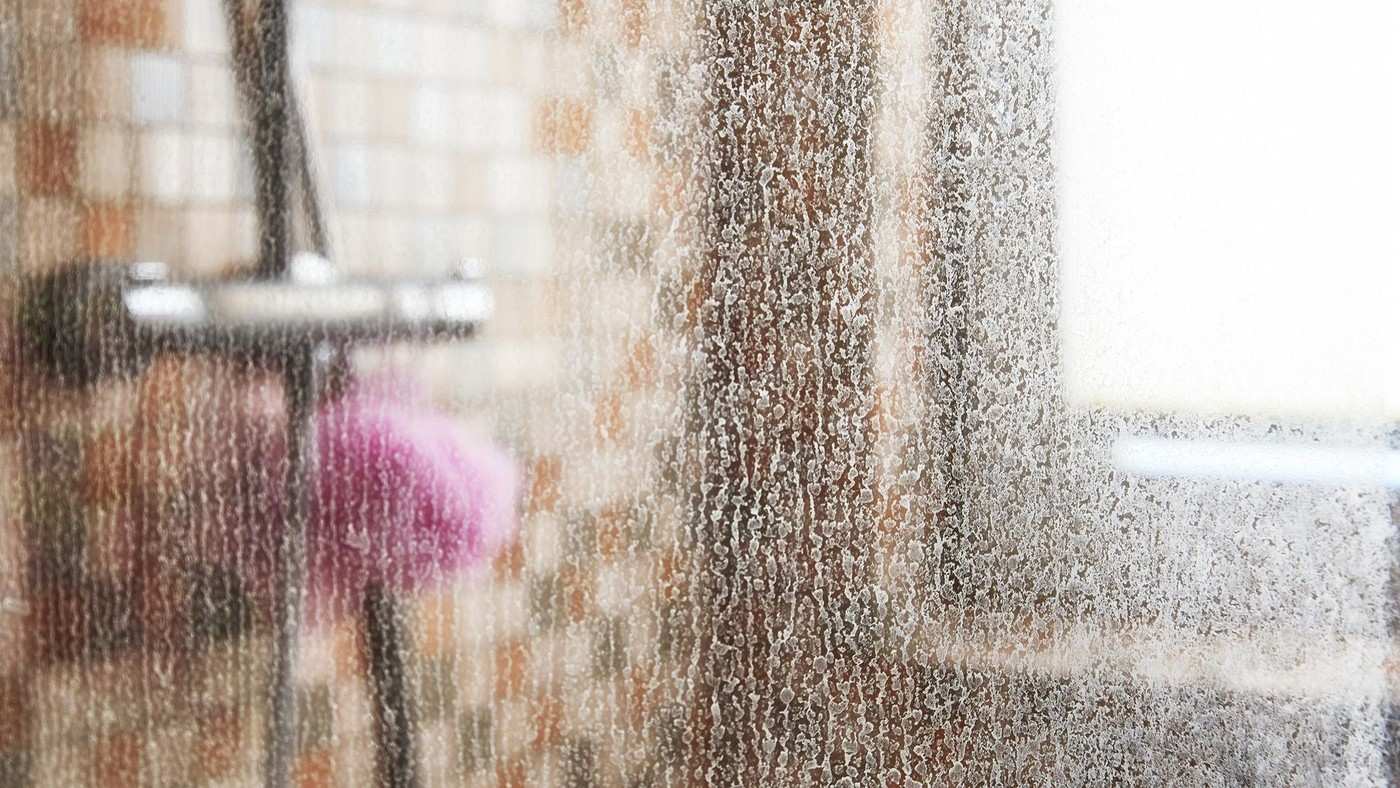
Give a Suitable Shower Cleaner Time Before Wiping
A structured limescale routine focuses on contact time, soft tools and complete removal rather than aggressive scouring.
Prepare before treating the glass
Tom's Guide's shower-door guide recommends gathering a soft cloth or sponge, a squeegee, protective gloves and an appropriate cleaning product before starting. Where a commercial limescale remover is used, its dilution and application instructions determine the method. The article also discusses household acidic options, which still need a compatibility check for the actual glass, seals and nearby materials.
Rinse and finish from top to bottom
The guide advises gentle cleaning and explicitly warns against abrasive materials such as steel wool because they can scratch the surface. After the residue has loosened, rinse the door thoroughly so cleaner and dirt are carried away. Overlapping squeegee passes remove the remaining water, and a clean, dry microfiber cloth can finish the edges. This sequence separates loosening the deposit from polishing the glass, reducing the temptation to compensate for remaining marks with more force.
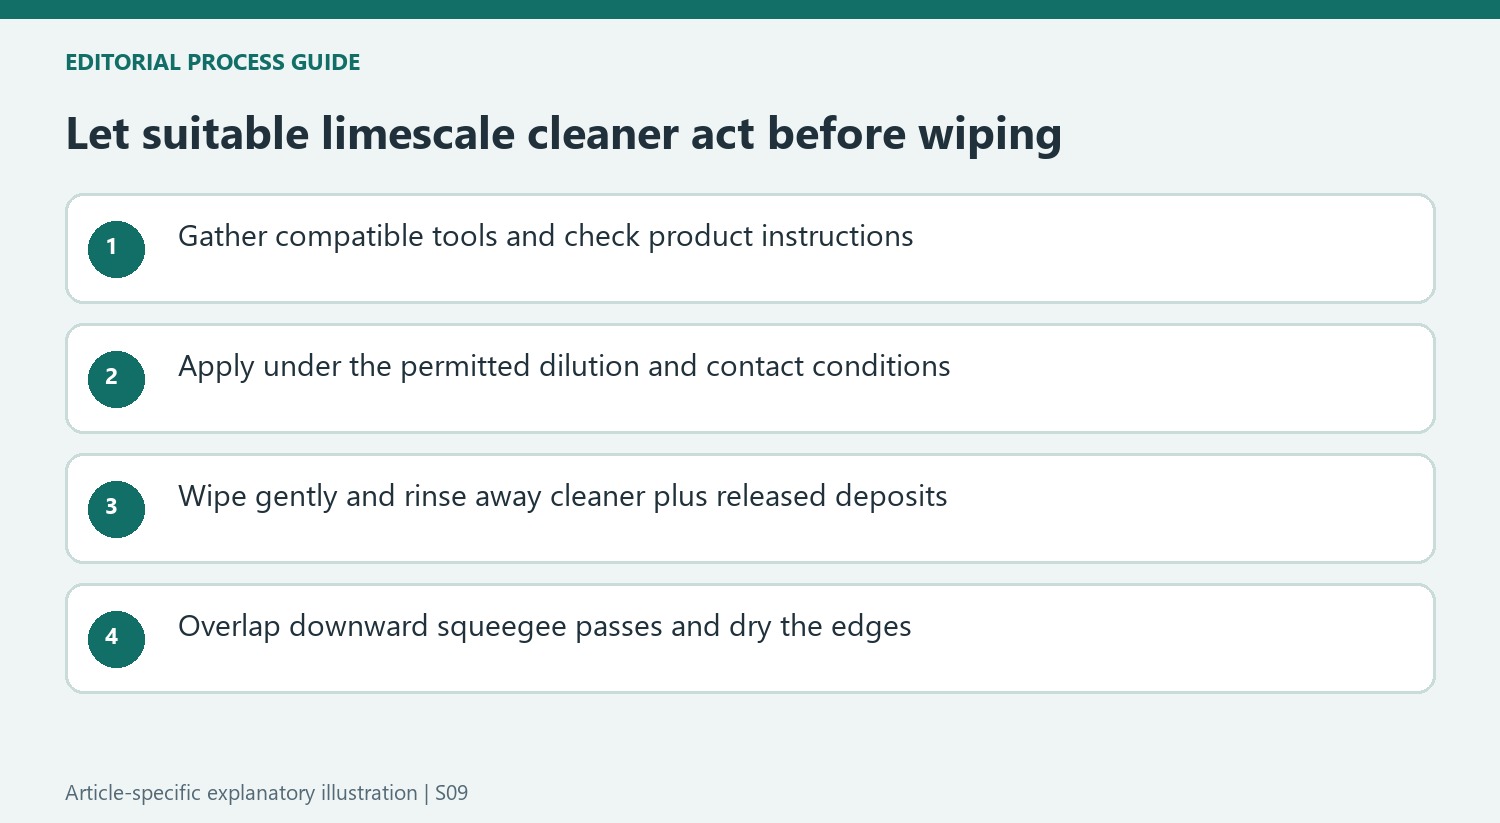
Give a compatible treatment time rather than force
The guide separates application, contact, gentle wiping, rinsing and drying into distinct stages. That sequence prevents a common shortcut: scrubbing hard immediately after spraying because a deposit has not yet loosened. Follow the actual product's permitted dwell time and avoid letting it reach unsuitable adjoining surfaces. Once the treatment has acted, use the recommended soft tool and rinse away the released material. A squeegee pass can overlap the previous one so narrow wet stripes are not missed. Finish the lower edge and corners with a clean cloth, then inspect the dry pane before deciding another local treatment is needed. Keep the lower corners dry as well as the central pane.
Prepare enough to finish the job in one controlled sequence
Tom's Guide lists a soft cloth or sponge, a squeegee, gloves and a cleaning solution before its treatment stages begin. Gather the suitable versions for the actual enclosure so the door is not left coated while a missing tool is found. Check the product label for its dilution, protection and application requirements. A commercial limescale remover's current instructions should control those details rather than the timing attached to a different household recipe.
Include the frame, seals and nearby surfaces in the compatibility check. The source discusses acidic household options, but a liquid sprayed on glass may reach stone or a delicate fitting as it runs downward. Select the approach permitted by the installed materials and control application accordingly. A stronger concentration or a generous spray is not automatically appropriate just because the visible deposit is thick or the rest of the bathroom tolerates a familiar cleaner.
Allow a suitable treatment to work before gentle contact
The guide's separate contact stage gives the cleaner an opportunity to act before wiping begins. Follow the chosen product's permitted dwell time and conditions rather than rushing immediately to vigorous scrubbing. A remaining chalky patch at the first moment is not proof that the tool needs to be harsher. Keep any restrictions on drying, runoff and neighboring finishes in view while the compatible treatment is doing its job.
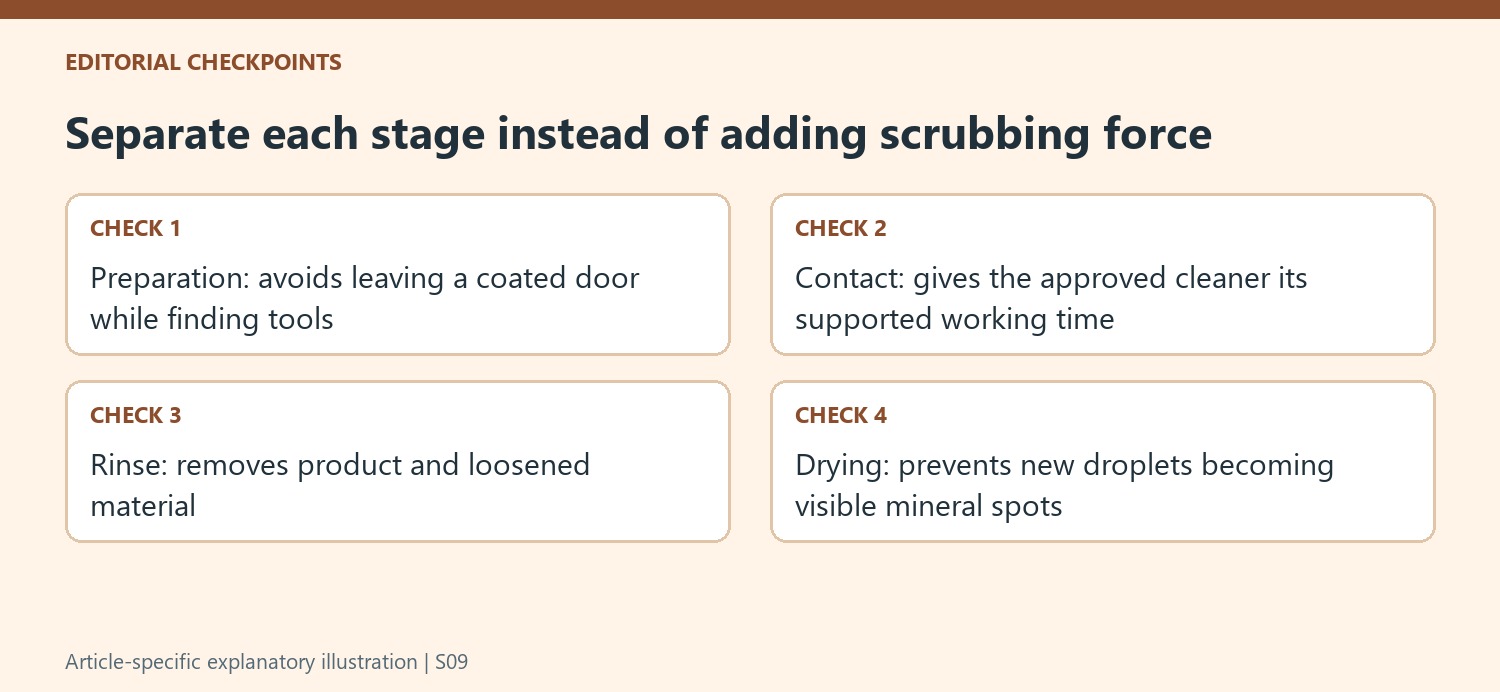
Use the recommended soft tool and restrained contact to collect the loosened material. The article specifically excludes steel wool because it can scratch the glass, a useful reminder that removal effort must not be confused with cleaning effectiveness. If the prescribed method leaves a local deposit, inspect it and seek the enclosure's advice before switching to an abrasive ingredient. More aggressive treatment should not become the default next step merely because the first pass has ended.
Check removal at both the rinse and dry stages
Rinse thoroughly so the cleaner and released deposits leave the pane instead of remaining as a thinner film. Then move the squeegee from the upper area downward with overlapping passes to avoid narrow stripes of water. A clean dry microfiber cloth can collect moisture the blade cannot reach at the edges. Keep the finishing fabric distinct from the cloth used to handle dirty cleaning solution earlier in the process.
Inspect after drying and identify whether any visible mark is an old deposit or a new residue from the job. A clear wet appearance alone cannot establish that all product has been removed. Continue the suitable water-removal habit after subsequent showers so fresh minerals have less chance to accumulate. The structured sequence is useful precisely because each stage solves a different problem: preparation, compatible contact, gentle collection, complete rinse and controlled drying all contribute to the final clarity.
References
- 6 easy tips for removing limescale from your shower door — the simple solution is hiding in your kitchen. Tom's Guide; Kaycee Hill.
A structured limescale routine focuses on contact time, soft tools and complete removal rather than aggressive scouring.


Leave a Comment
Comments (0)